Key Takeaways
- Apple’s lineup of AirPods — which are a series of wireless Bluetooth earbuds and headphones — has grown in popularity over the past several years.
- At a keynote in September 2024, the company revamped the lineup with all-new AirPods 4, as well as updates to the AirPods Pro 2 and AirPods Max models.
- Here are a number of tips and tricks that’ll help you get the most out of whichever model of AirPods you happen to be rocking.
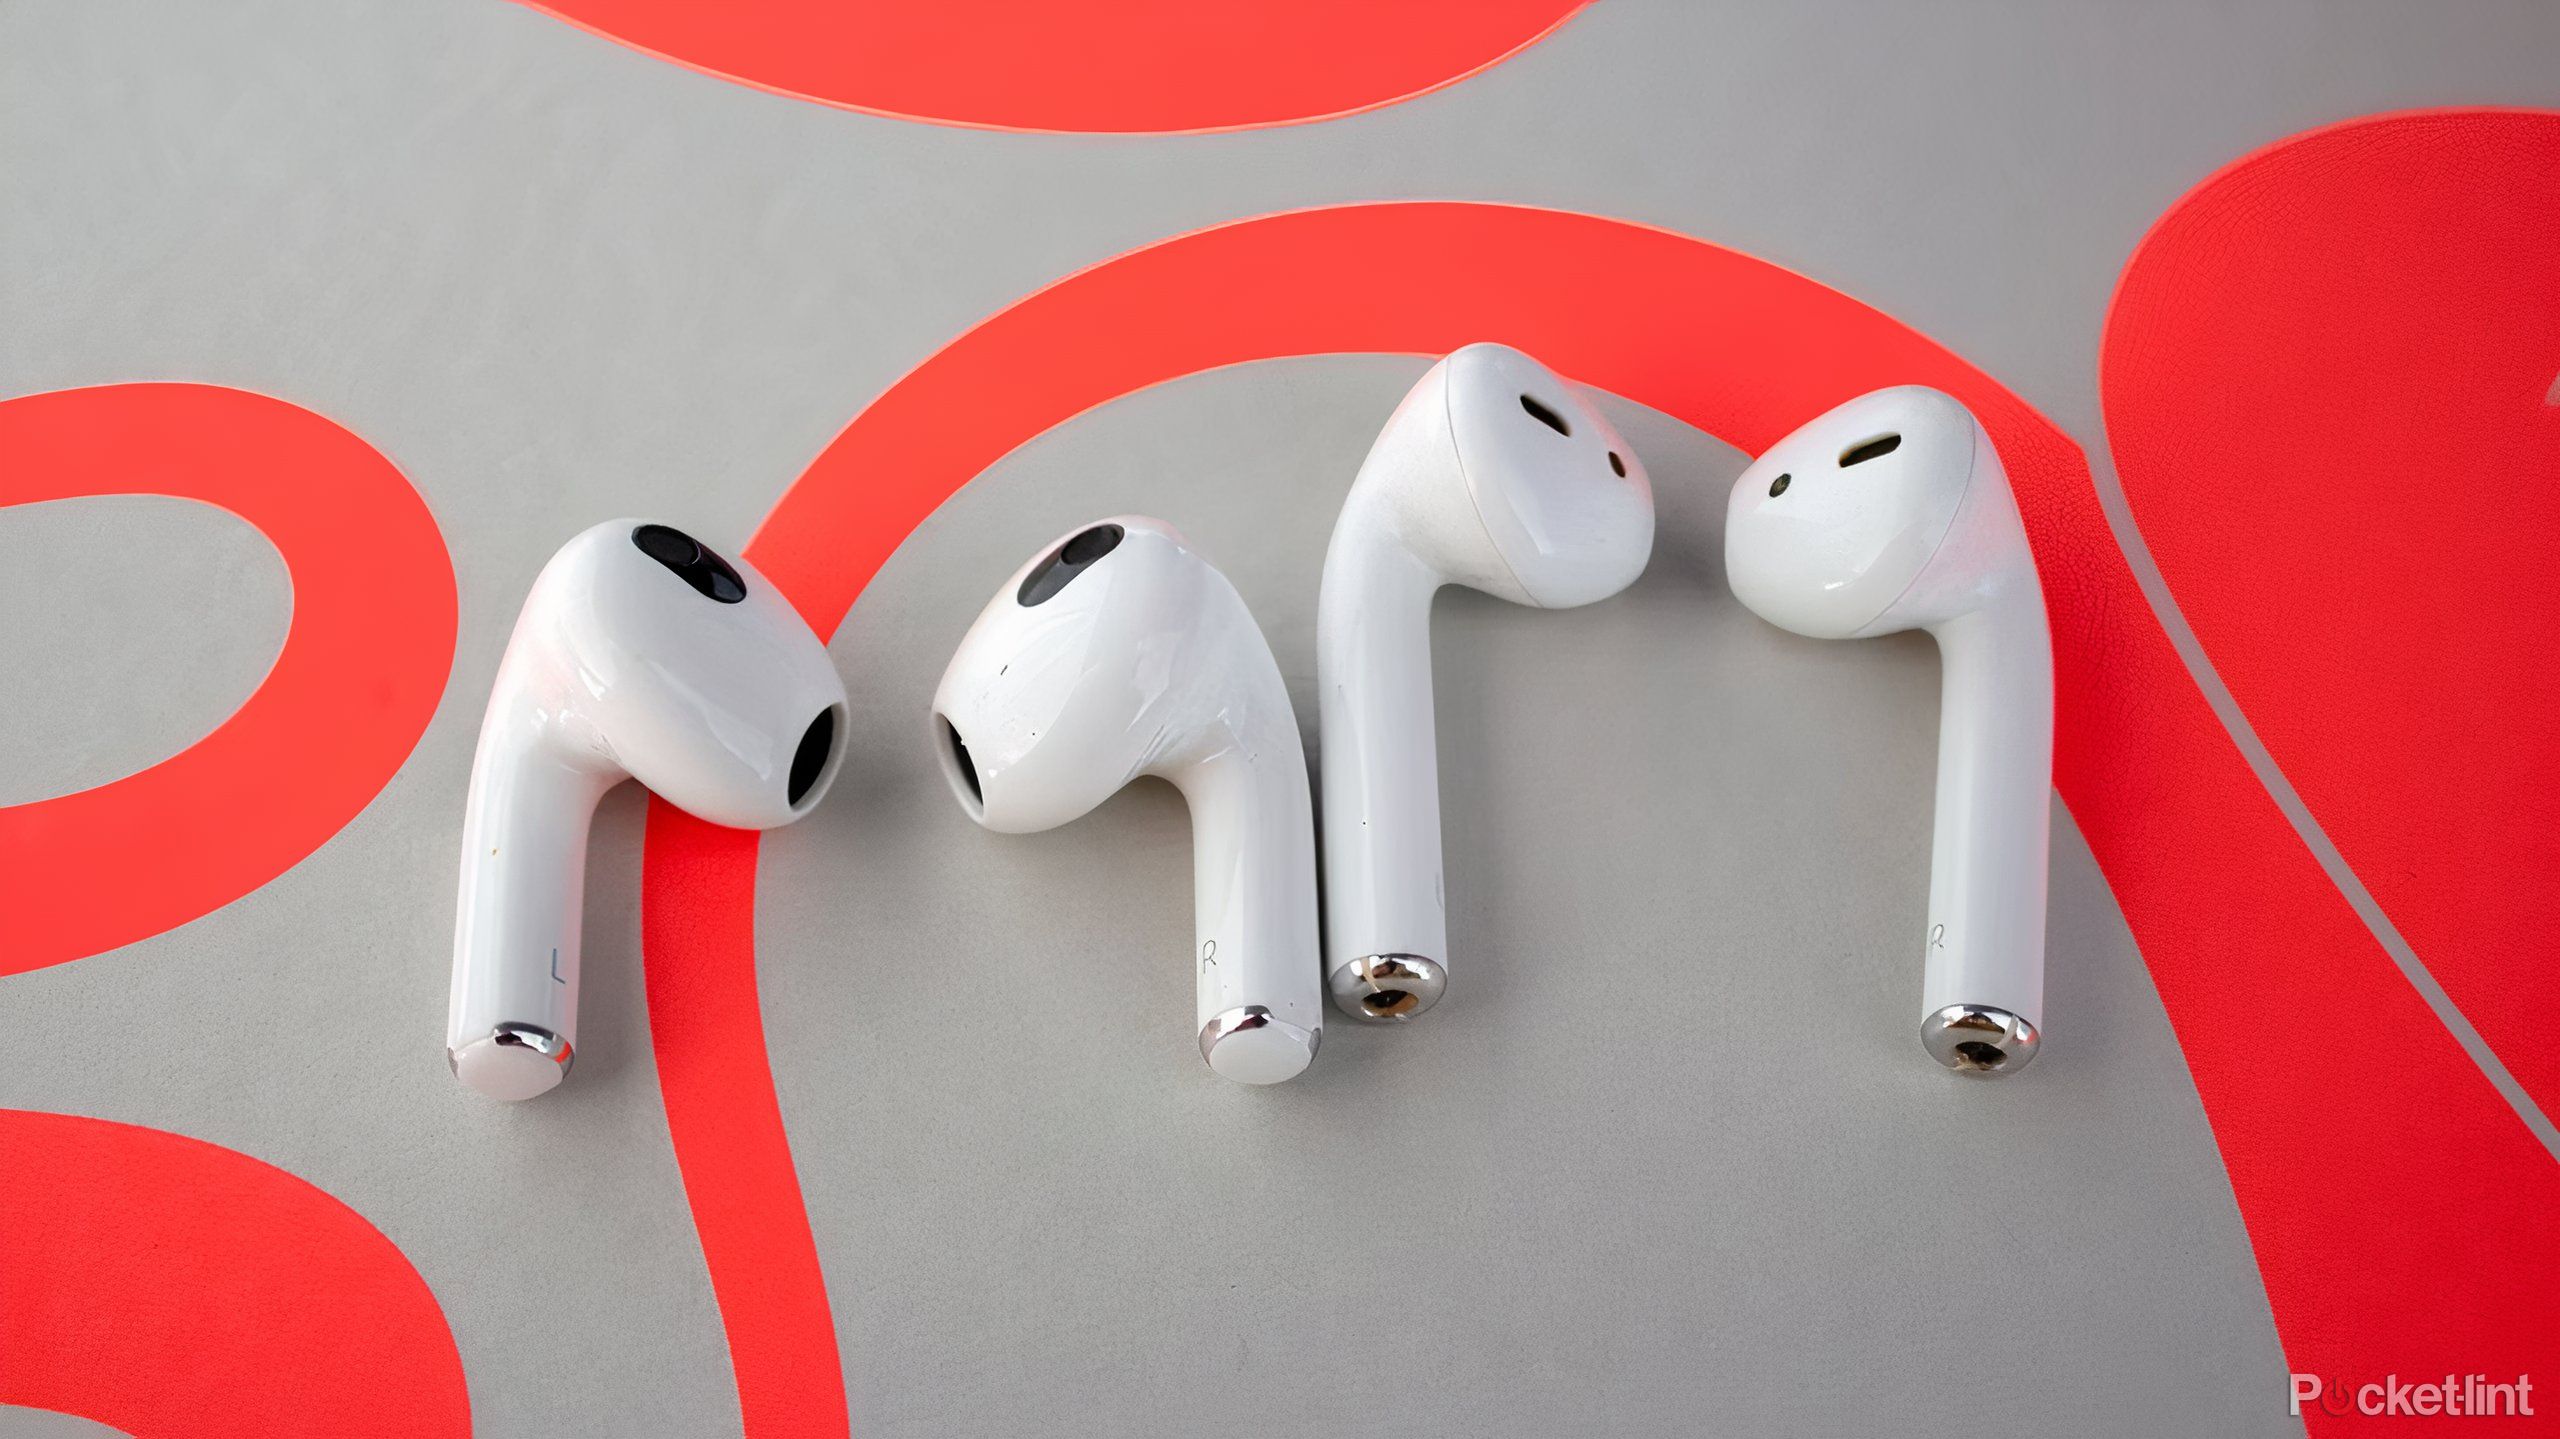
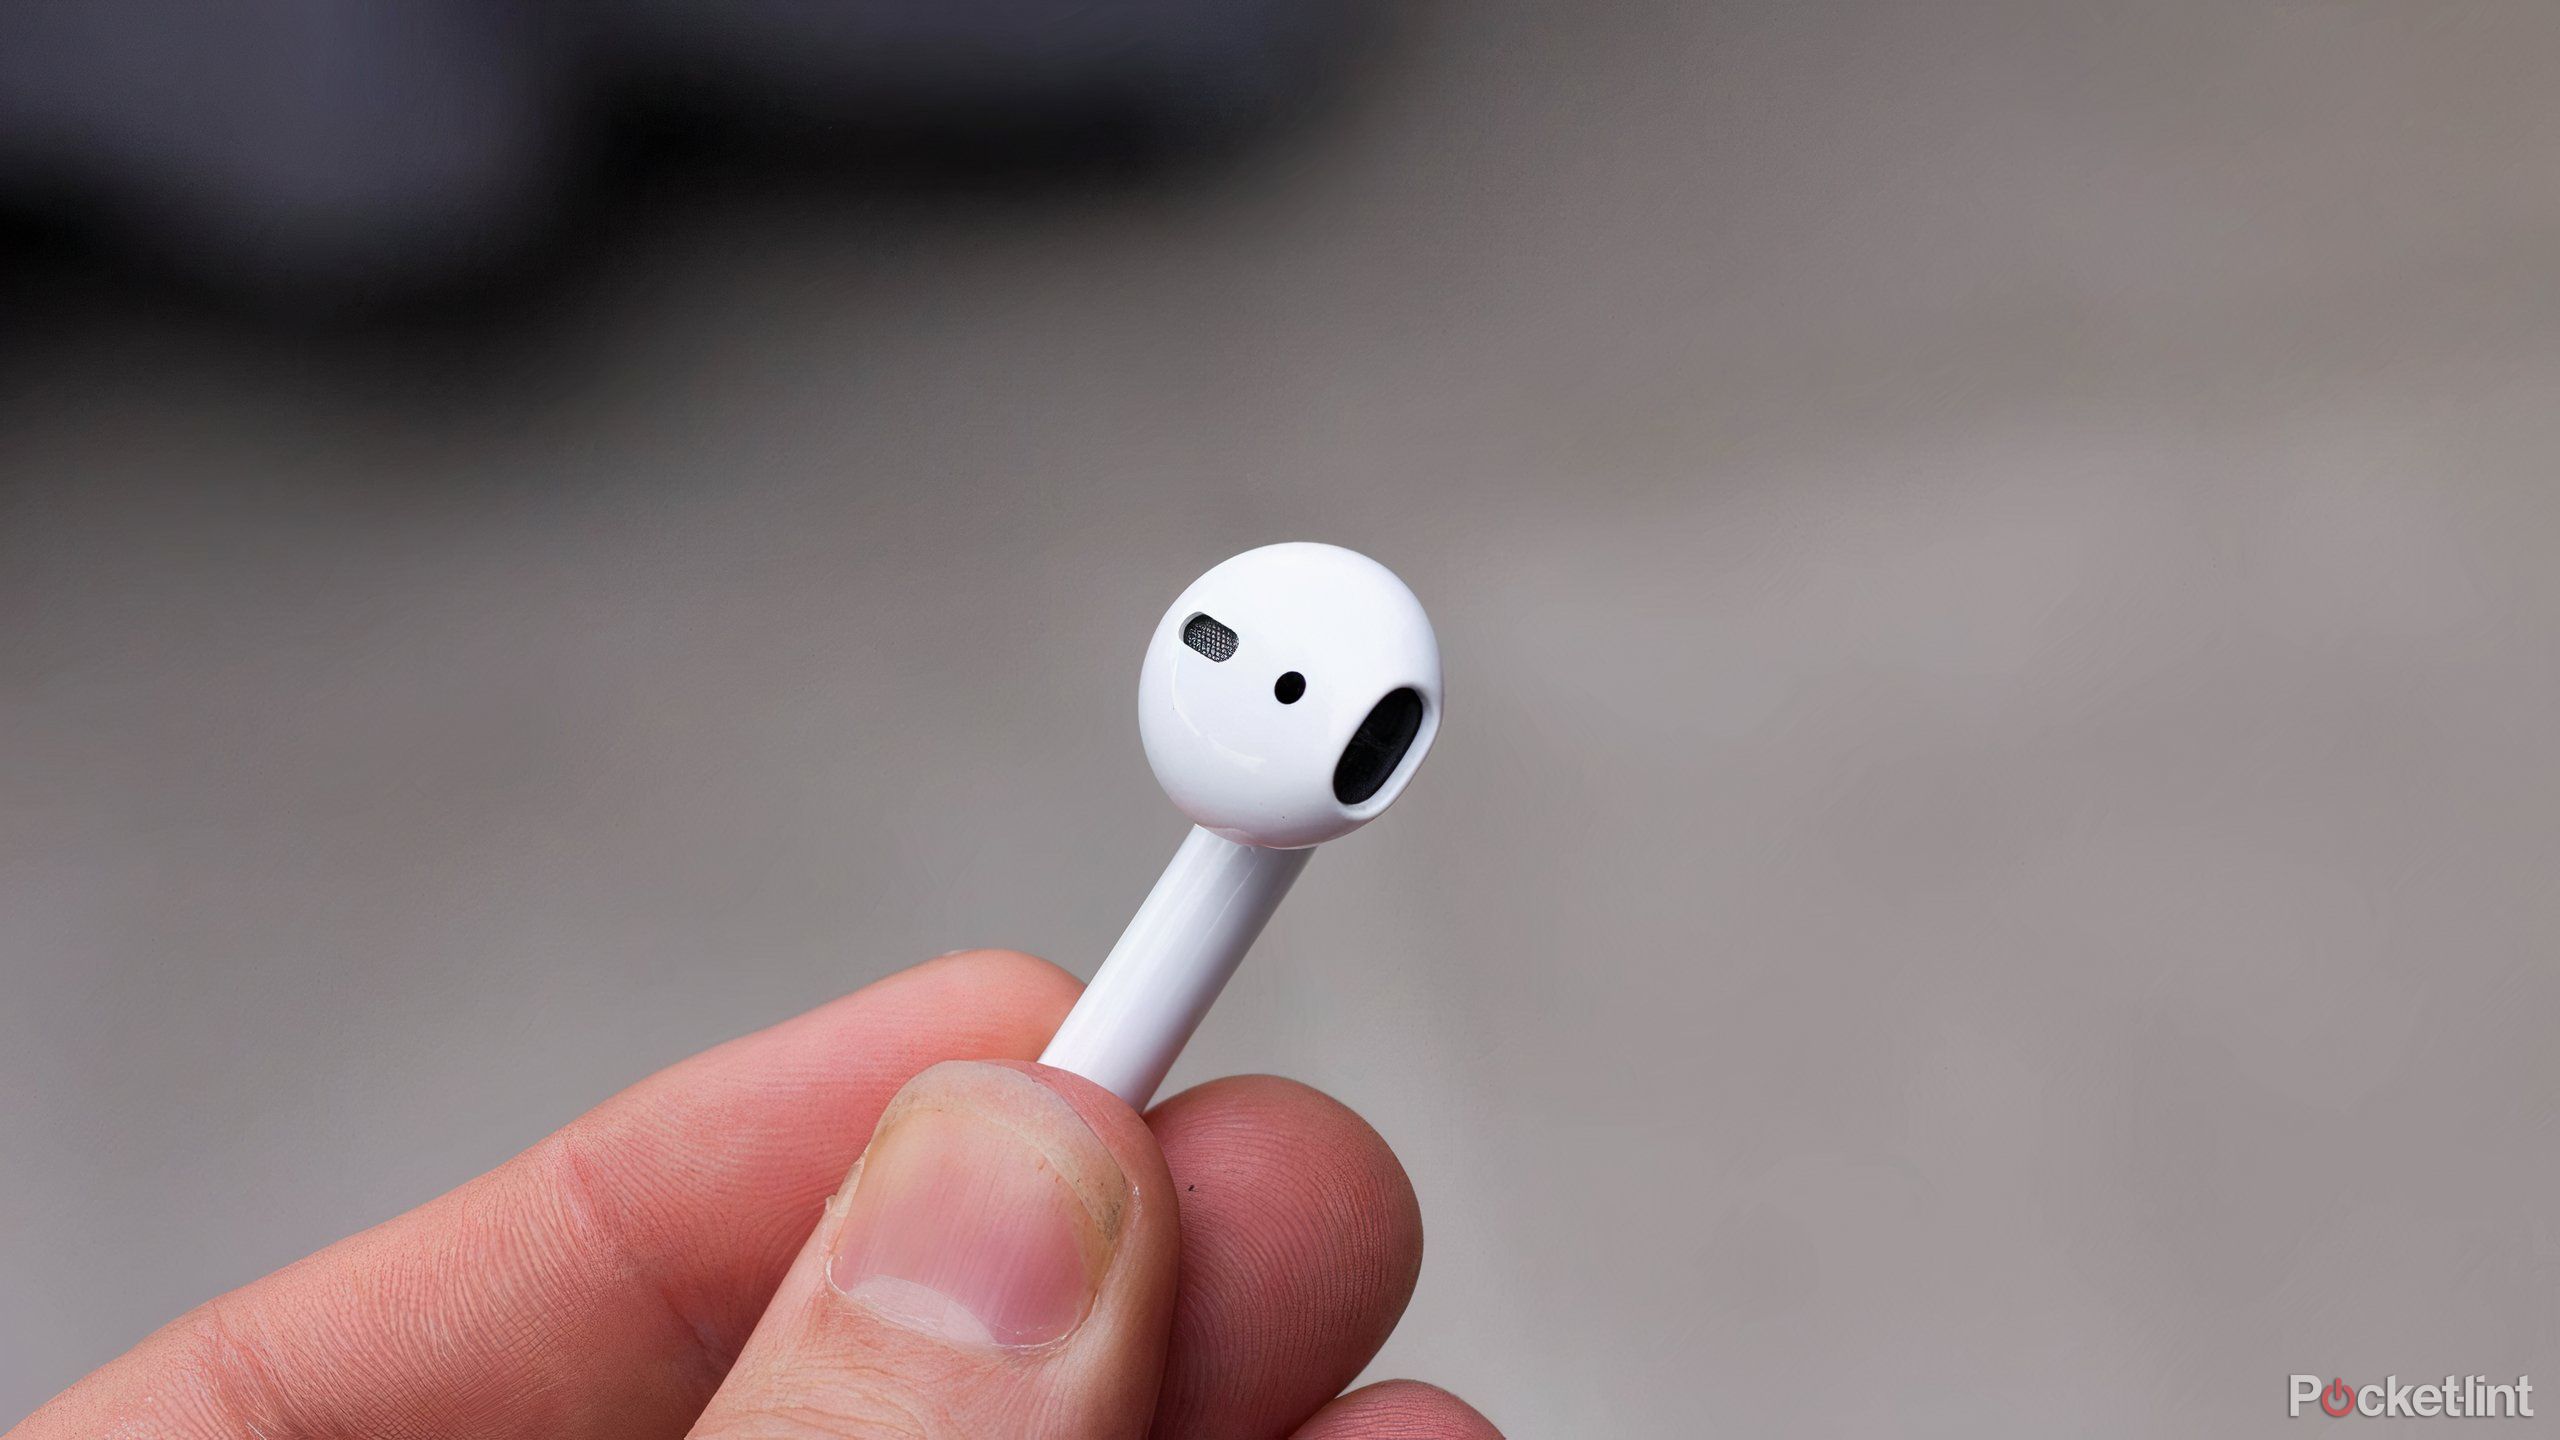
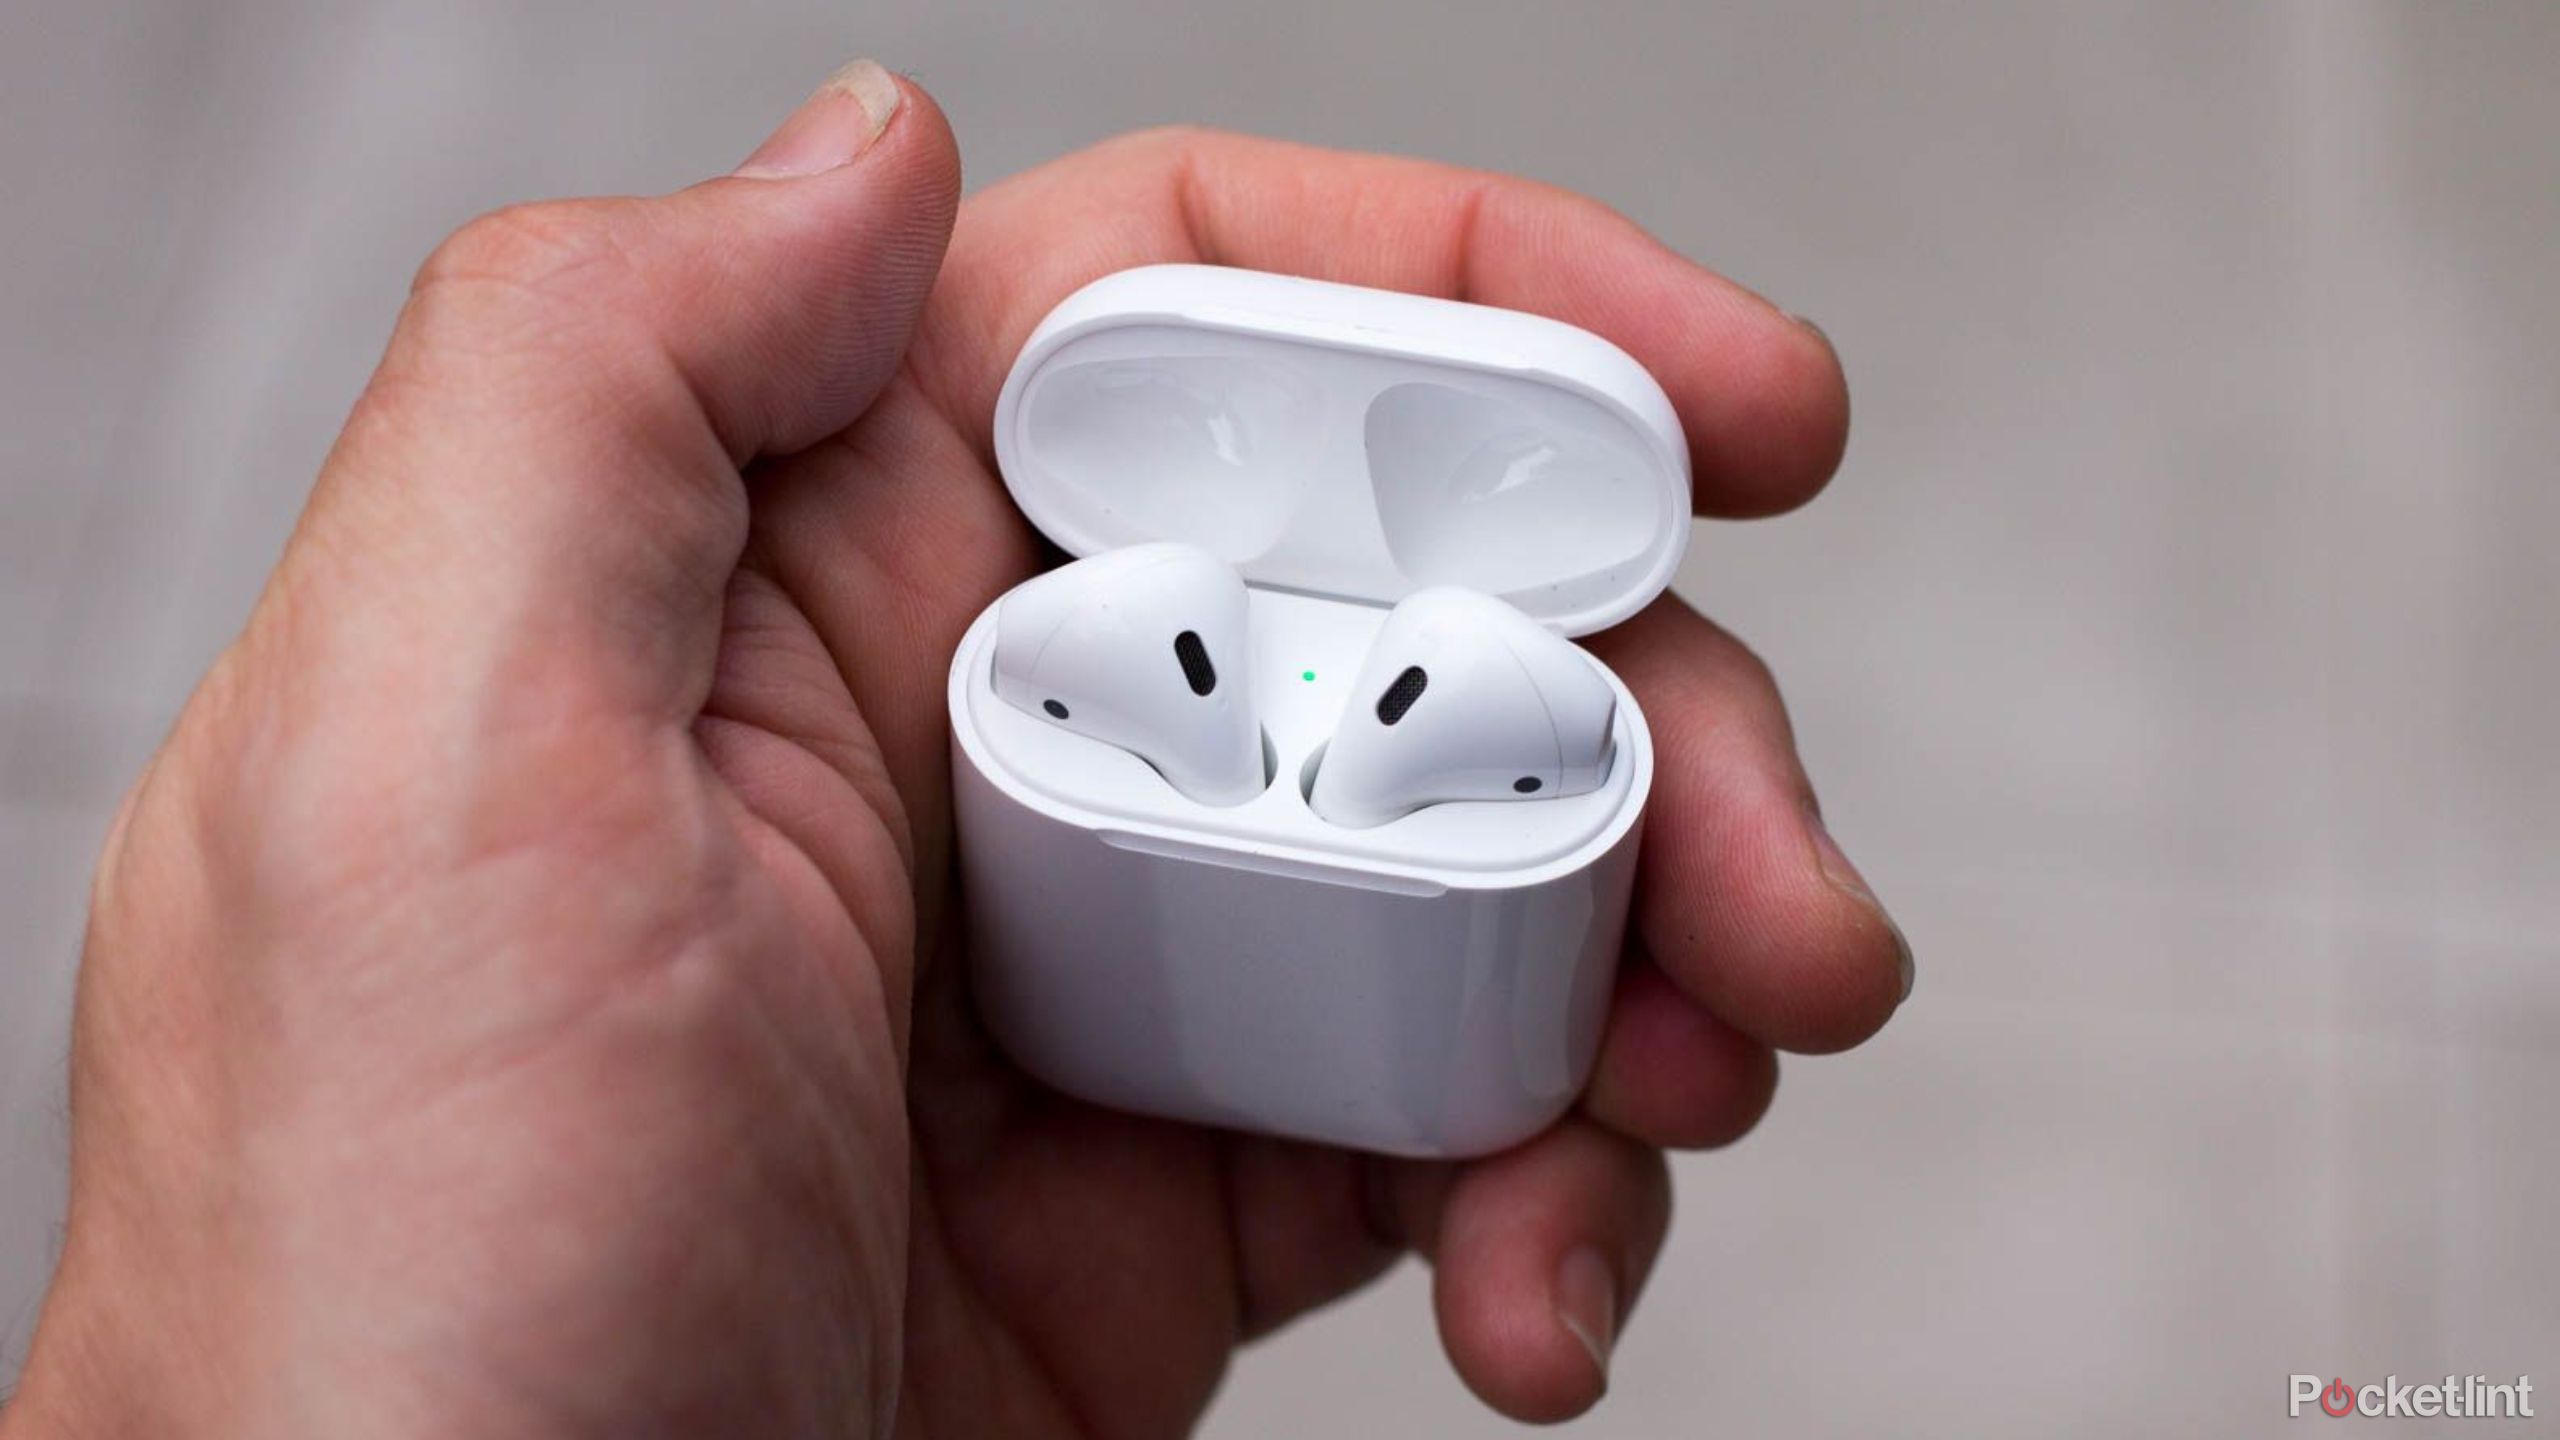
Featuring the “cut off stem” look, an increasingly comfortable fit with each iteration, and Apple’s Spatial Audio, Apple’s AirPods are often a staple for iPhone users for both streaming and conversation. Whether you have the first, second, third, or now fourth generation AirPods, any of the three Pro models (first gen, second gen or USB-C), or the fashion-forward and noise-cancelling AirPods Max over-ear cans, there are more ways than slipping the headphones in or on your ears to get the most out of your listening, conversation, and workflow.
From our years of testing, reviewing, and listening, we’ve compiled the top tips and tricks that make for a more efficient listening and talking experience.
Top AirPods tips and tricks to try
These are our top hacks for a leveled-up AirPods experience
There are plenty of ways to get more out of your AirPods, including easy ways to pair and charge, which we will cover later in the article, but below are the top tips and tricks we get the most out of.
Turn on Conversation Awareness Mode
This tip is only for those who have the AirPods Pro 2 (first iteration or USB-C).
First arriving with iOS 17, conversation Awareness Mode allows your AirPods Pro (2nd Generation or USB-C) to detect conversation and then automatically adjust the output volume in-ear accordingly. To set up:
- Open the Settings on your iPhone.
- Scroll down and tap AirPods.
- Select Audio.
- Toggle Conversation Awareness on/off.
Mute yourself
This feature works with AirPods (3rd Generation) and all models of AirPods Pro.
iOS 17 also ushered in the ability for users mute themselves whilst on a call. However, you need to be running iOS 17 or iPadOS 17 or later on your device, after which you just need to press the Force Sensor on the stem of your AirPods – or the Digital Crown on the AirPods Max – once to mute yourself and again to unmute yourself.
Get Siri to read your notifications without unlocking your iPhone
This tip only works with the second generation AirPods, third generation AirPods, AirPods Pro (1st and 2nd Gen), and AirPods Max.
If you’re running iOS 15 or later, you can turn on Announce Notifications, which will result in Siri reading out any incoming Messages and notifications from apps you have selected. This feature can also work to find out who is calling you without looking at your phone.
For more on the process of how and why you may want to use this feature, check out our feature that will guide you through the entire process, as well as what other headphones are compatible, but in a nutshell:
- Go to Settings > Notifications.
- Announce Notifications with Siri > Toggle on.
Use one AirPod and switch to increase talk time
From our testing, we’ve found the following in terms of talk and listening time hours.
- First generation AirPods: 2 hours
- Second generation: 3 hours of talk time and five hours of listening time.
- Third generation: 4 hours of talk time and 6 hours of listening time.
- First generation AirPods Pro: Around 3.5 hours of talk time and between 4-5 hours of listening time, depending on if you’re in Active Noise Canceling (ANC) mode or not.
- Second generation AirPods Pro and AirPods (USB-C): Around 4.5 hours of talk time and between 5.5 and six hours of listening time, mode dependent.
As you can wear one AirPod or two AirPods at any time, we sometimes wear just one AirPod if we have lots of phone calls that day, switching to the other AirPod when the five-minute warning beeps for low battery on the one we are wearing. It offers that little bit of juice and one can charge while you’re talking on the other.
Change the double-tap default for first and second generation AirPods
By default, double-tapping the side of each AirPod will launch Siri on your iPhone or iPad for the first generation AirPods. The second generation of AirPods have next track as the default for double tap.
You can change the default on both though, turn the feature off entirely and have one feature for the right AirPod and a different one for the left. Here’s how to do so:
- Open Settings on your iPhone or iPad.
- Make sure your AirPods are connected.
- Tap on your AirPods at the top of the Settings list.
- Choose the feature you want for the left AirPod.
- Choose the feature you want for the right AirPod.
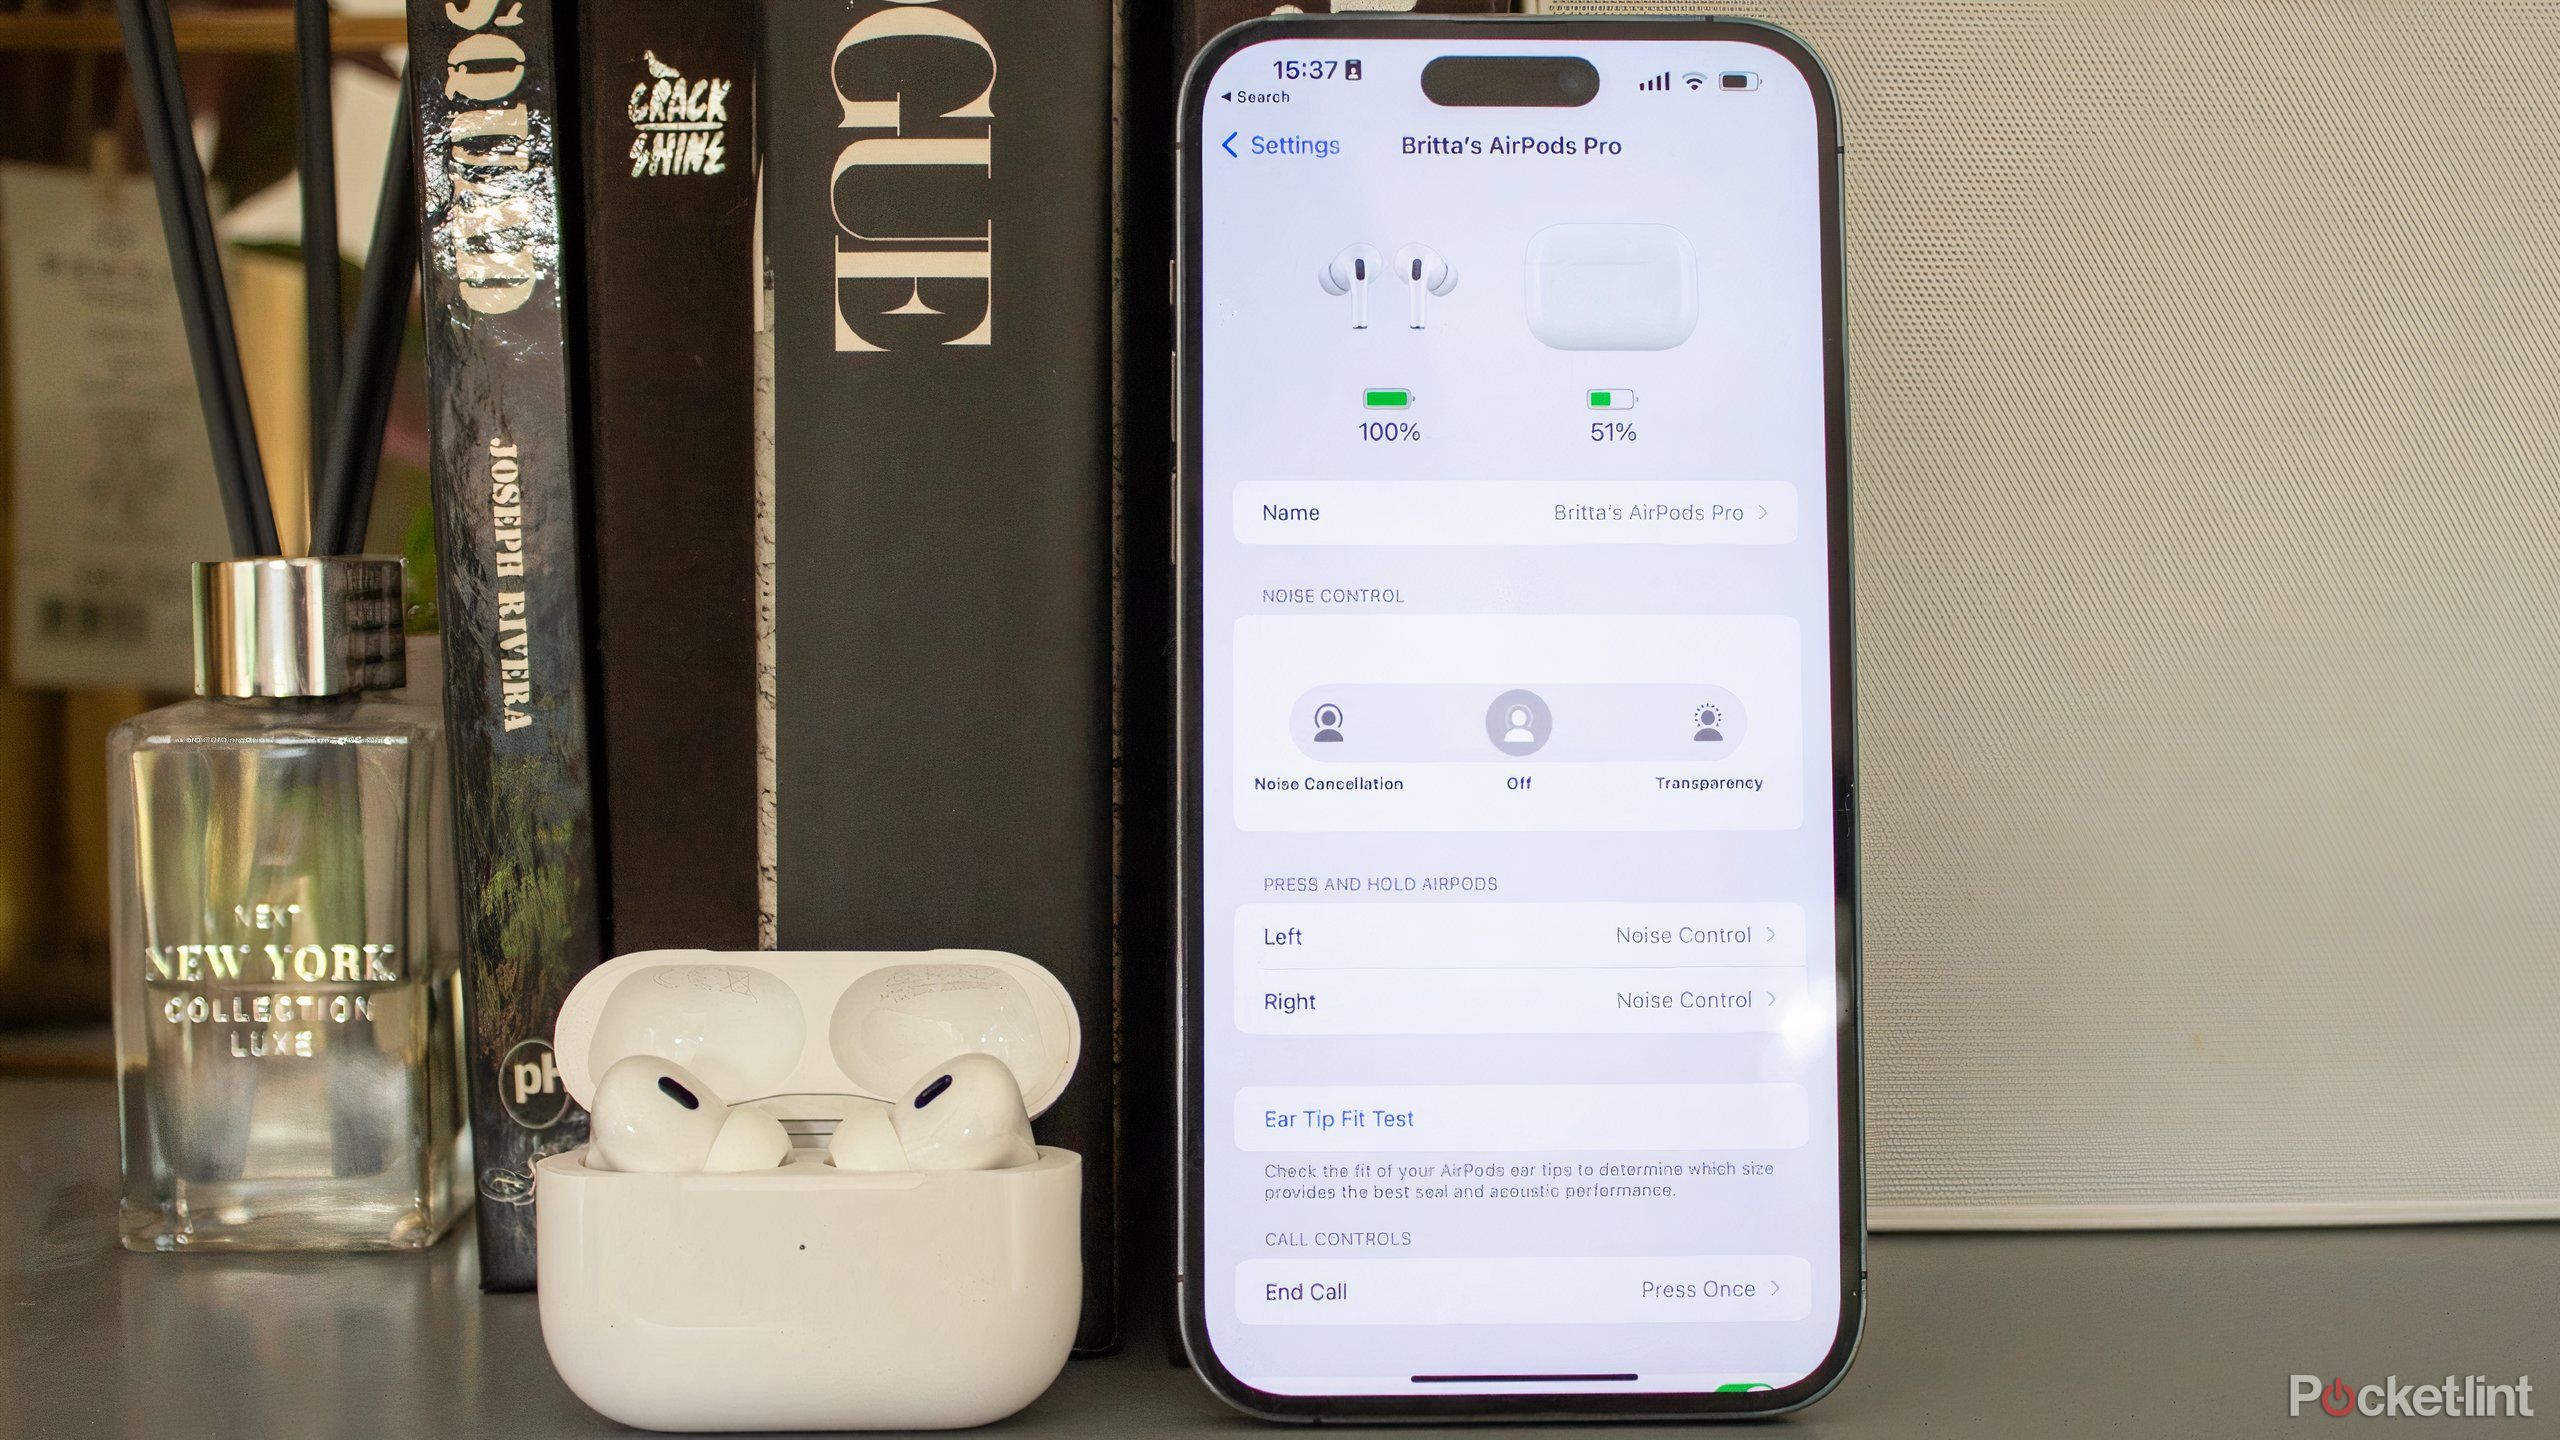
Change between Active Noise Cancelation (ANC), Adaptive Audio and Transparency modes on AirPods Pro and AirPods Max
All three AirPods Pro generations feature the following listening modes:
- Active Noise Cancelation (ANC), which allows for an immersive listening experience and effectively blocks out external noise.
- Adaptive audio, which is halfway between ANC and Transparency Mode (which we’ll talk about shortly). This mode is particularly useful during a workout or run, when you want to be locked in to your task, but still semi-aware of your surroundings.
- Transparency Mode, where you can hear the environment you’re in. Our testing has found that transparency Mode is a standout feature for the AirPods Pro as it actually allows for both casual conversation and clear audio.
To quickly change between these three modes, push and hold the Force Touch sensor on the stem of your AirPods.
To switch between Active Noise Cancelation and Transparency mode on AirPods Max, push the noise control button at the top of the right earcup.
As with the AirPods Pro, you can also swipe down from the top right of a Face ID iPhone, or swipe up from the bottom of a Touch ID iPhone to access Control Center. Press down on the volume bar when the AirPods Max are connected, and you will be able to switch between the modes.
You can also swipe down from the top right of your iPhone’s home screen or swipe up on models with a home button to pull up the Control Center. Depending on which iPhone you have, Haptic Touch or 3D Touch the volume bar when your AirPods Pro (any generation) are connected and you’ll see an option to switch between the three modes. Keep in mind to see Adaptive Audio mode, you need to be running iOS 17 or later.
AirPods pairing tips and tricks
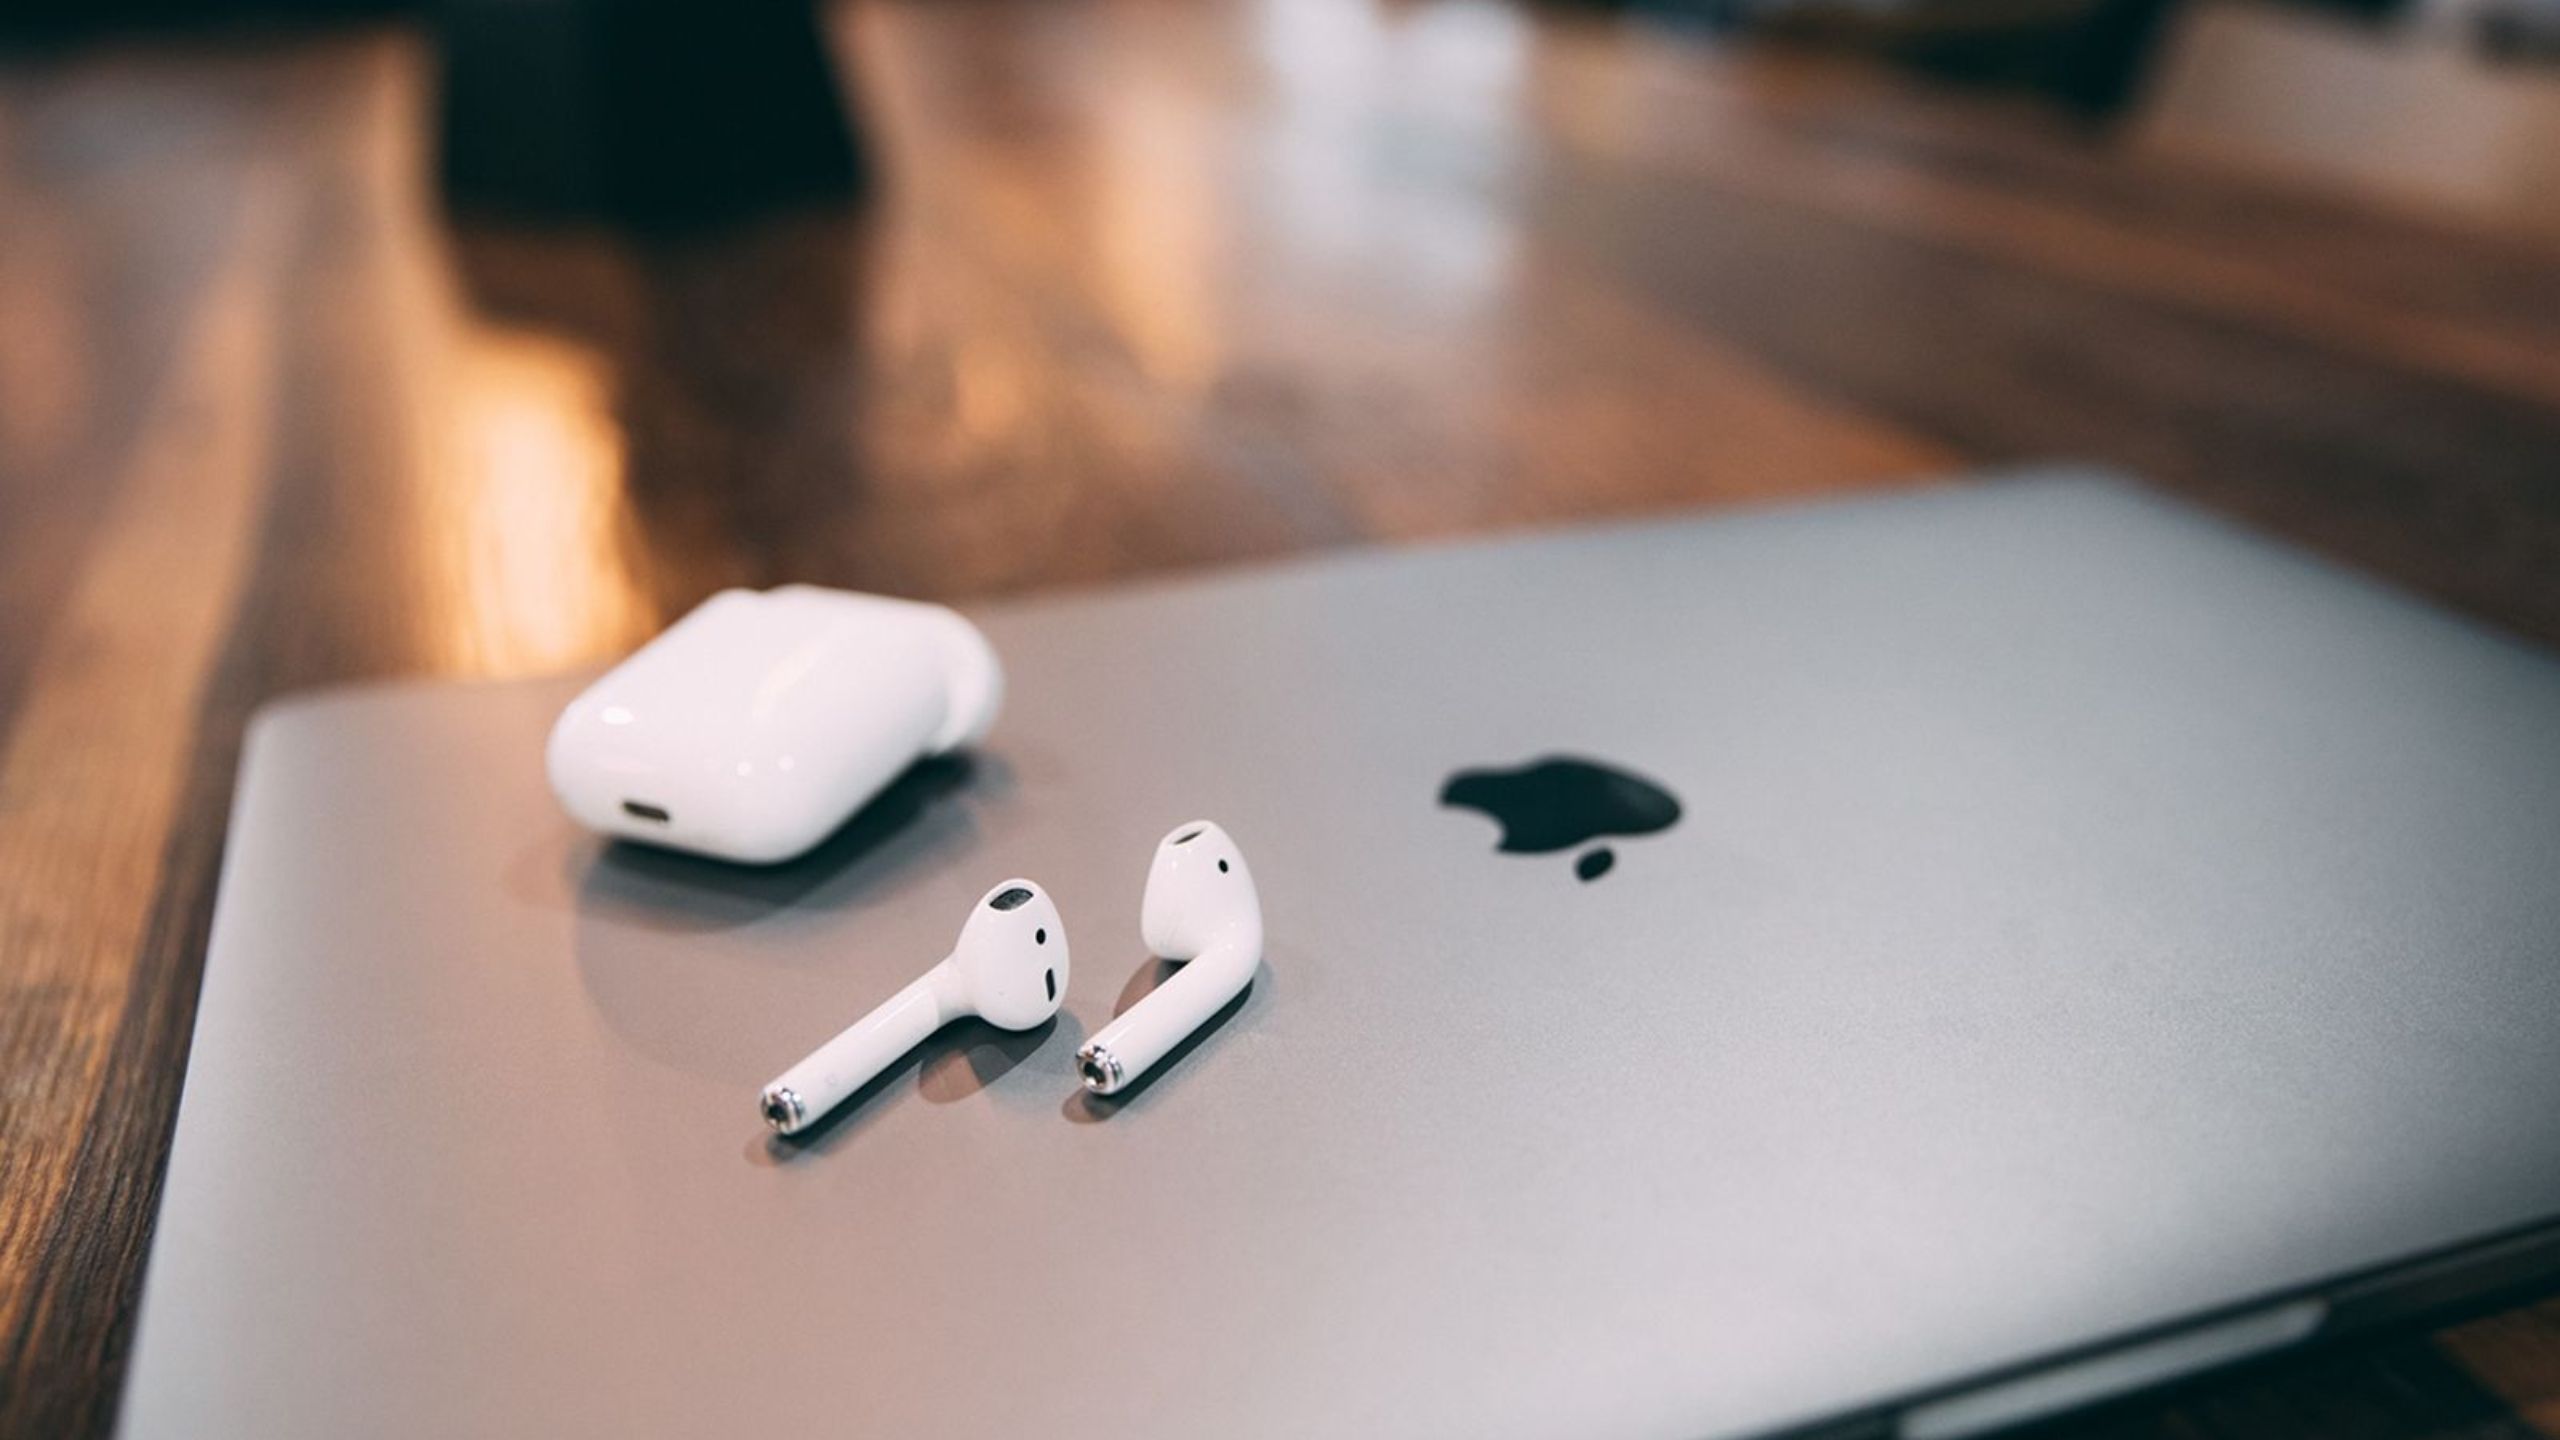
The pairing process is seamless if you’re invested in the Apple ecosystem
Unsplash / Kal Visuals
Before you can get anything more out of your AirPods, you’ll have to know how to pair them. Here are our top tips to make that process all the easier.
Connect AirPods to your iPhone or iPad
All generations of Apple AirPods have a special chip (the W1, H1, or H2) in them which allows for easy iPhone or iPad connection.
- Open the lid on the AirPods case, press and hold the small button on the back and place the AirPods case next to your iPhone or iPad.
- The AirPods will appear at the bottom of your iPhone or iPad screen. Unlock your iPhone or iPad and press the Connect button. For the first, second-generation and third-generation models, that is all you have to do.
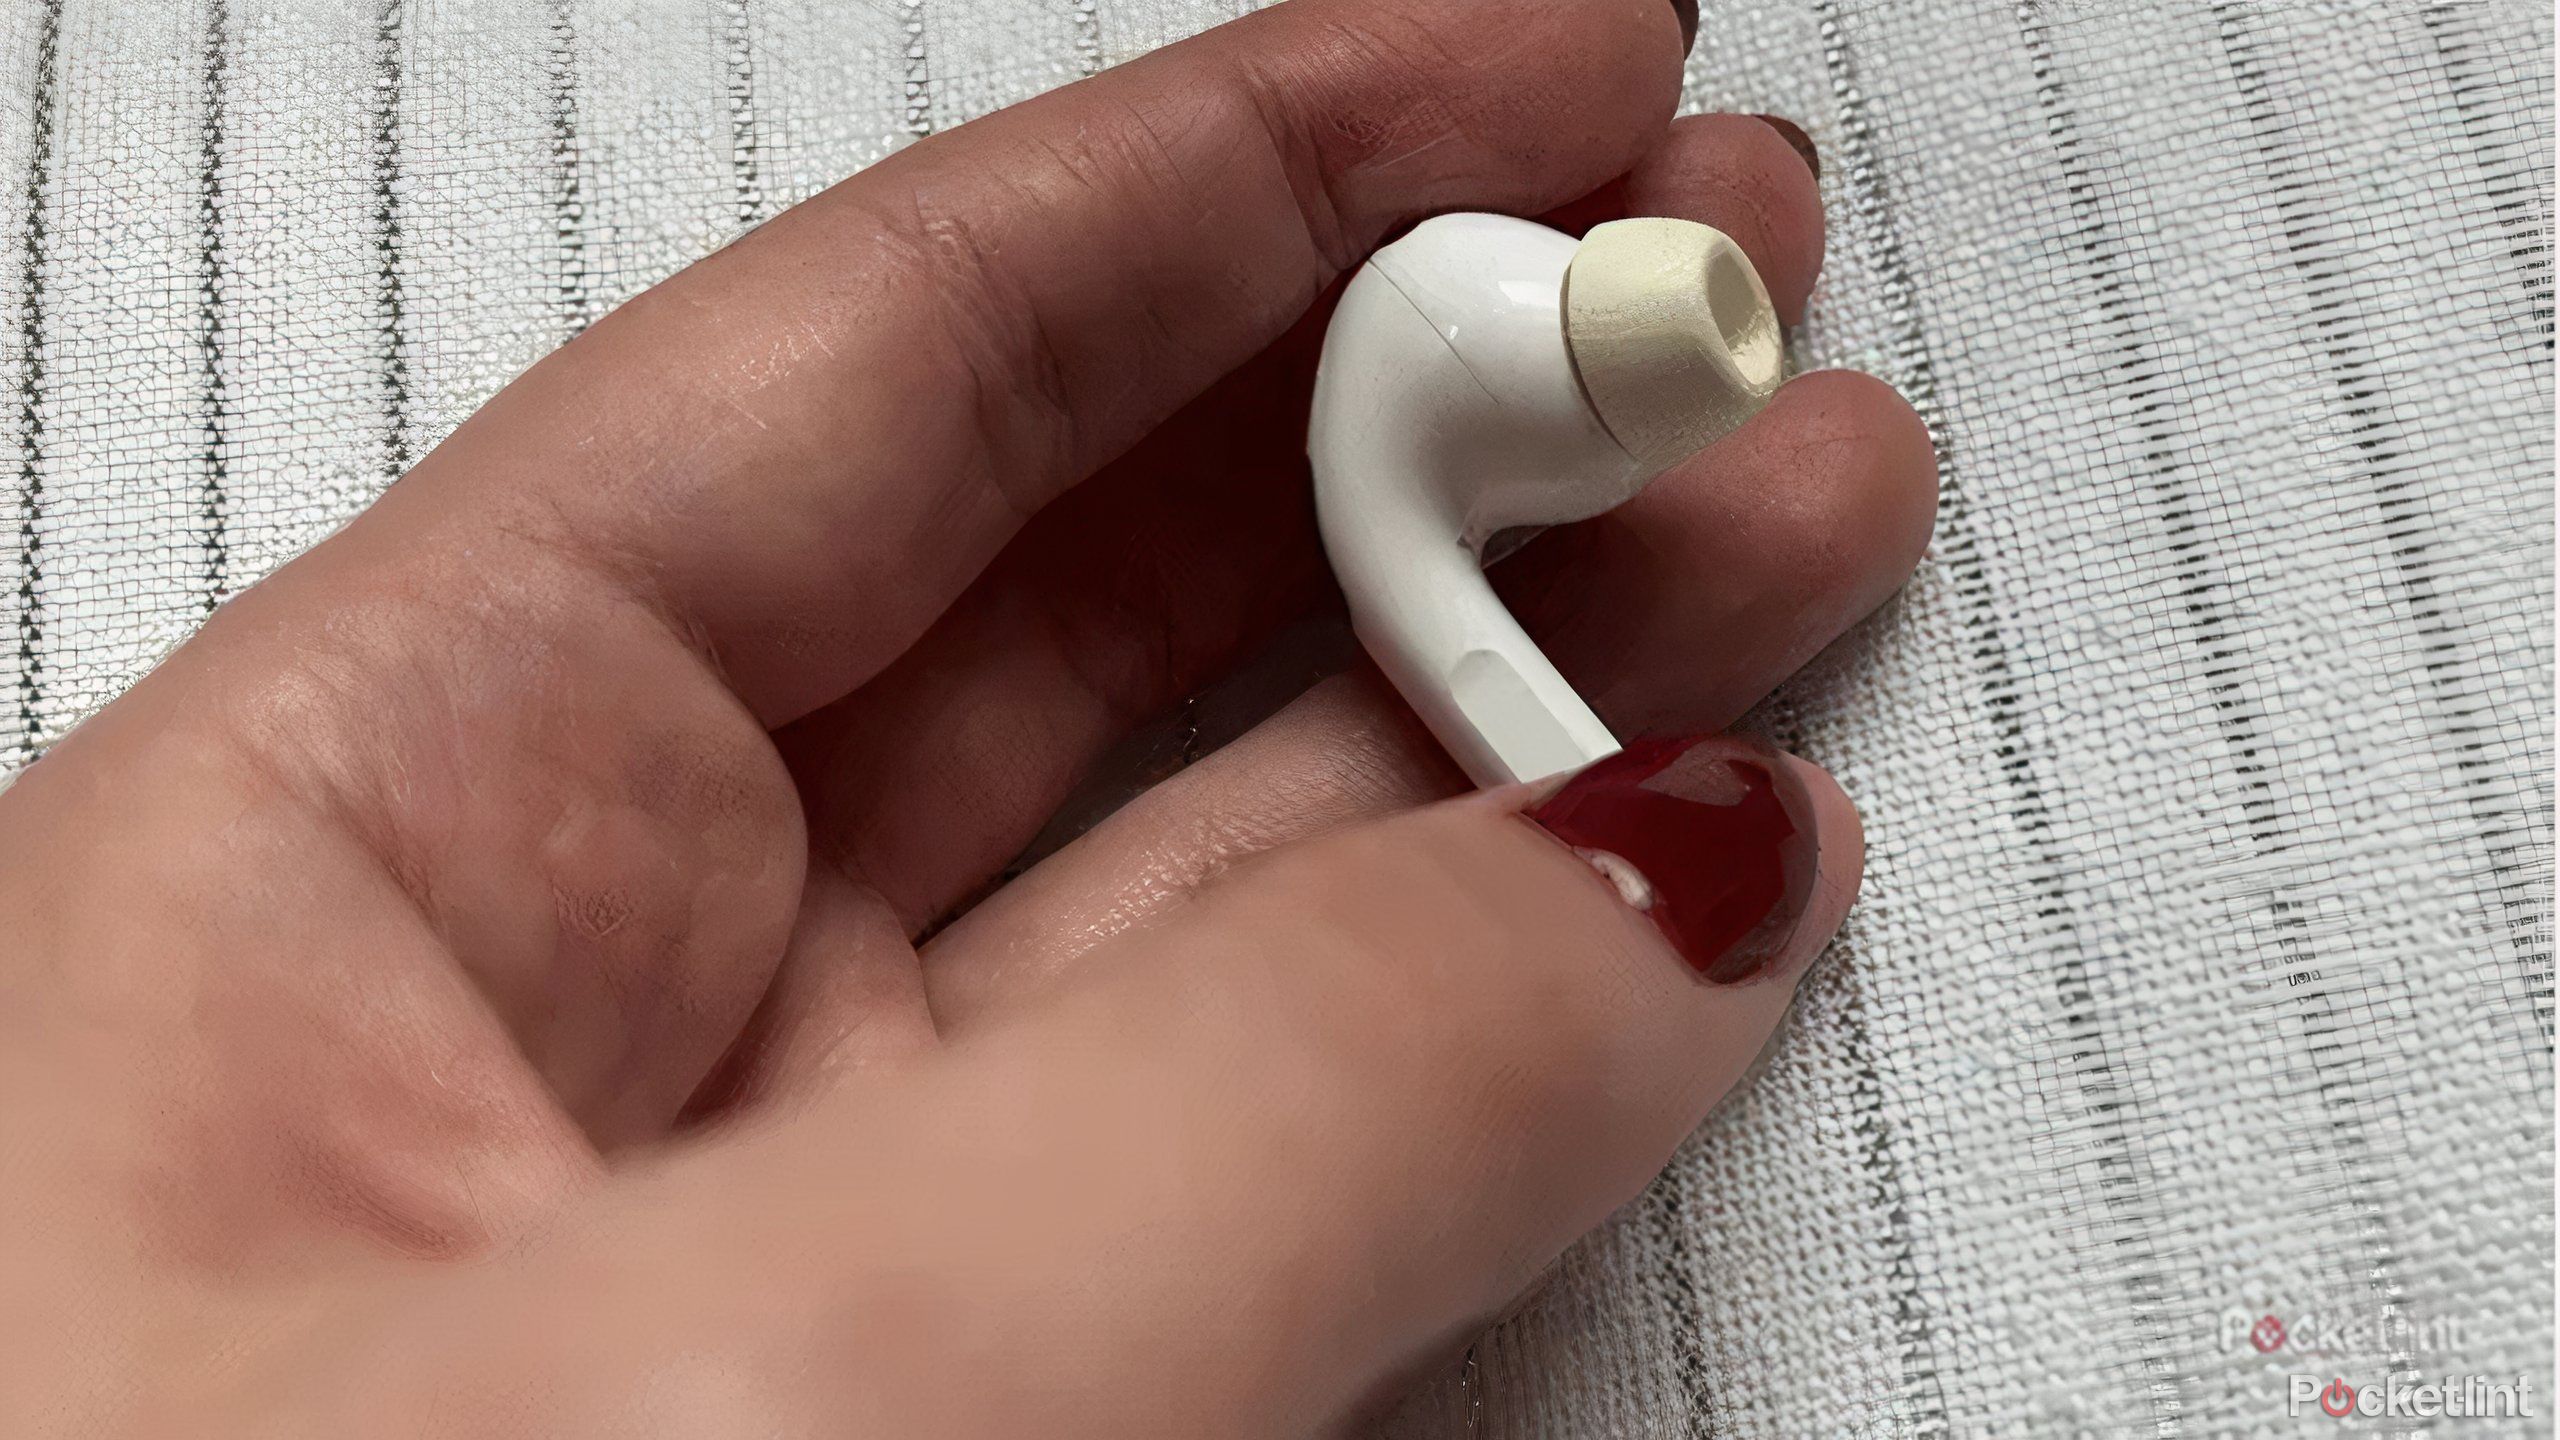
- For the AirPods Pro models, there is an additional step in the Ear Tip Fit Test. The test takes around five seconds and will determine if you have a good fit. If not, the results might recommend you try one of the other silicone tips included.
- There’s a choice of small, medium and large for the first generation model, as well as an extra small option for the 2nd generation model and USB-C model.
For the
AirPods Max
, take them out of their Smart Case and hold them near your iPhone or iPad within 60 seconds until the setup animation appears. If it doesn’t, you can do it manually through the Bluetooth settings. Press and hold the noise control button (flat button that’s not the Digital Crown) on your headphones until it flashes white to pair.
Connect AirPods to your Apple Watch
All AirPods connect automatically to any iOS devices registered to your Apple ID once connected to your iPhone so you don’t need to go through the pairing process more than once.
As soon as you take one AirPod out of its case, or the AirPods Max out of their Smart Case, they will show as Connected in the Bluetooth settings of your Apple Watch. You can then use your AirPods with your Apple Watch even if your iPhone isn’t nearby.
Connect AirPods to your MacBook
Any connected AirPods will already be visible in the Bluetooth menu of your MacBook. To connect:
- Open the Bluetooth settings on your Mac.
- Find your AirPods in the list.
- Press Connect.
If you have the feature set up, AirPods will automatically switch between your Apple devices too, so once connected, they will swap between your iPhone, iPad and MacBook as necessary. This is even truer when it comes to devices running iOS 17 or newer, as Automatic Switching became more seamless with this software update, making moving between Apple devices quicker.
Connect AirPods to an Android device
While not in the Apple ecosystem, you can still connect your AirPods to an Android phone or tablet. Here’s how:
- Open the Bluetooth settings on your Android device.
- Select Pair a New Device.
- Open AirPods case to enable pairing or take the AirPods Max out of the Smart Case.
- Confirm pairing.
If the Apple AirPods don’t appear in the available devices list, push and hold the button on the rear of the AirPods case until the LED light between the AirPods flashes, placing the AirPods in pairing mode.
For AirPods Max, you press and hold the noise control button. You’ll then need to select them from the list and confirm pairing. For more information on how to use AirPods with an Android phone, you can read our separate feature.
Connect AirPods to a PC
Windows-based PCs are also not part of the Apple ecosystem, but you can still pair any AirPods model via Bluetooth. Here’s how:
- Open the Bluetooth settings on your PC.
- Press and hold the button on the back of your AirPods case or the noise control button on AirPods Max.
- Tap on the AirPods when they appear as an available device.
They might appear under headphones, rather than AirPods. Once you tap connect, the AirPods will be connected to your PC for audio.
Connect two AirPods to an iPhone
You can connect two sets of AirPods to an iPhone so you could have the third generation AirPods and AirPods Max, for example. To do this, follow the same pairing process for the second pair as you did the first.
When you connect another pair of AirPods, the name of the first pair will see a “1” added to it and the second pair you connect will have a “2” after its name. Both will appear on any other iOS devices linked to your Apple ID.
How to switch your AirPods from iPhone to Mac
If you have the volume shortcut set up in the menu bar of your Mac, it’s possible to select your AirPods from the drop-down menu that appears when you click the volume icon. You’ll then be able to play music on your AirPods when listening to music on your Mac. It’s worth mentioning that this should happen without you intervening, however.
To enable the volume shortcut on your Mac, head to System Preferences > Sound > Tick the “Show Volume in Menu Bar” option.
How to make AirPods switch automatically between your Apple devices
If you have iOS 14 or later, AirPods automatically switch connections between all your Apple devices and if you have iOS 17 or later, this switching is even better. You can choose when you want AirPods to connect to your iPhone and transfer the audio route though. Here’s how:
- Open Settings on your iPhone or iPad.
- Make sure your AirPods are connected.
- Tap on your AirPods at the top of the Settings list.
- Scroll down to Connect to This iPhone.
- Select between Automatic or Last Connected to This iPhone.
AirPods battery tips and tricks
The best ways to keep your AirPods topped up and ready for action
AirPods don’t do any good if they’re dead, so here are some of our favorite charging tips and how to get the most out of the battery.
How to check battery status on AirPods
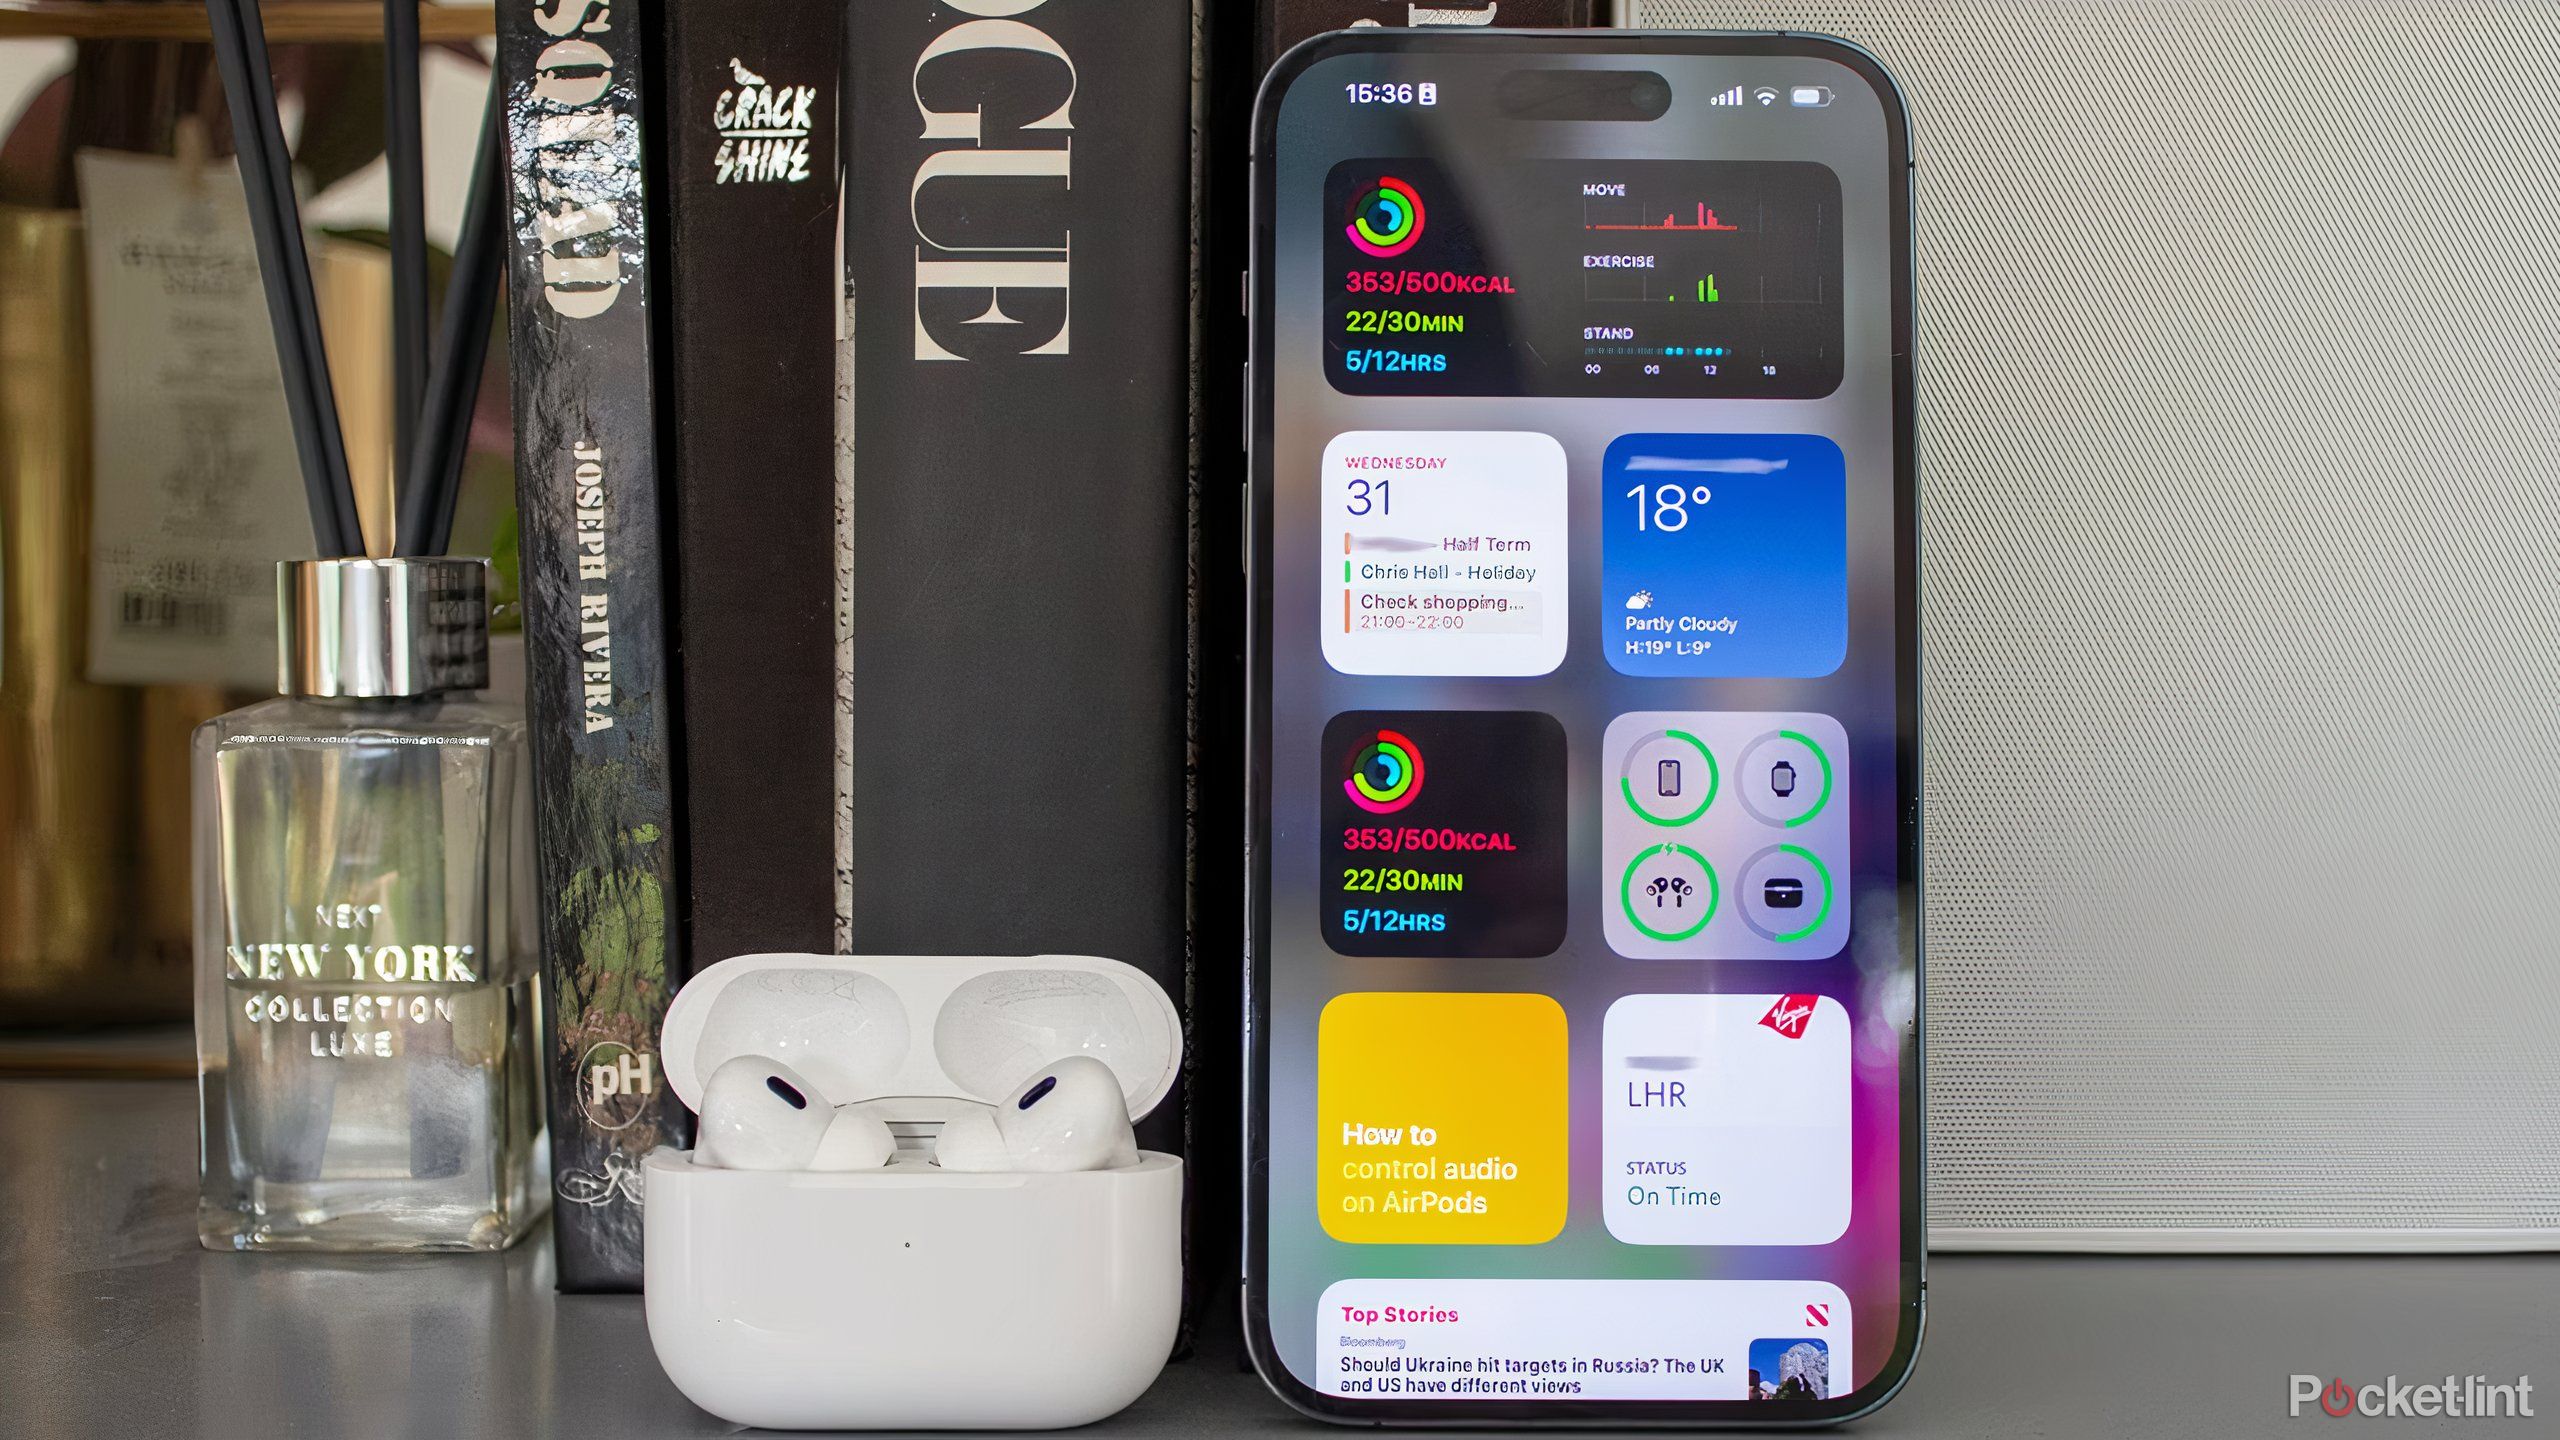
Checking the battery of your AirPods is intuitive on your iPhone – simply make sure your iPhone is next to your AirPods case and open the AirPods case. For AirPods Max, bring them close to your iPhone and press and hold the noise control button.
The battery percentage of both your AirPods and the AirPods case will appear side-by-side on the bottom of your iPhone display.
Make use of Apple’s native Batteries widgets on iOS and iPadOS
Our top tip for checking battery life of your AirPods though, is to use the Batteries widget on iPhone, iPad or iPod Touch.
- Swipe right to left from your home screen.
- Press and hold until the icons wiggle.
- Tap on the + in the top left corner.
- Search for battery in the search bar at the top > Press on Add Widget > Done.
You’ll now be able to swipe right to left from your home screen to see the battery of your AirPods, AirPods case, phone and Watch.
Make use of Apple’s native Batteries widgets on macOS
Back alongside the release of macOS Sonoma, Apple reintroduced the ability to place widgets directly onto your Mac desktop. The company’s Batteries widget can be placed here for easy access simply by following these steps:
- Right-click on your Mac’s desktop.
- Click on Edit Widgets.
- Scroll down until you find the one listed as Batteries.
- Click on the widget size that suits your preference, and it’ll automatically get added directly onto your desktop.
How to charge AirPods and the AirPods case
To charge Apple AirPods, simply place them back in their case. They will charge while they are in the case, as long as the case has a charge.
For the second and third generation of AirPods or the AirPods Pro, the charging case can deliver up to 2 hours of talk time and 3 hours of listening time in 15 minutes of charge. The second generation of AirPods Pro offers up to one hour talk time or listening time in 5 minutes of charge.
For AirPods Max, you’ll need the Lightning to USB-C cable that is included in the box to charge them. If you’ve purchased your AirPods Max after the September 2024 refresh, you’ll be using a USB-C cable instead of Lightning.
How to charge the AirPods case
To charge the AirPods case, plug the Lightning or USB-C connector (depending on the model you have) into the bottom of the case, as you would your iPhone.
If you have the wireless charging case for the AirPods 2, AirPods 3, AirPods 4, AirPods Pro, AirPods Pro (2nd Gen) or AirPods Pro (USB-C), you can also place it on a Qi-compatible wireless charging mat to top up the juice. It’s also possible to use the Apple Watch charger to charge the AirPods wireless charging case – you just have to get the placement right. The AirPods 3 and AirPods Pro cases are also compatible with the MagSafe charger, while the AirPods Pro (2nd Gen) and AirPods Pro (USB-C) are officially compatible with the Apple Watch charger.
It should be noted that the non-active noise cancelation edition of the AirPods 4 doesn’t come with a wireless charging case — the feature is reserved for the more expensive ANC-enabled AirPods 4. This latest generation also removed MagSafe charging puck compatibility, though an Apple Watch charger will continue to work just fine.
For AirPods Max, plug the Lightning to USB-C connector (or USB-C to USB-C connector) into the bottom of the right earcup to charge.
AirPods organization tips and tricks
The best AirPods housekeeping tips
For many, AirPods are not only an entertainment headset, but a productivity tool to help you lock in. Here’s how to make sure your AirPods are organized and ready to help you operate at maximum productivity.
How to rename AirPods (and why you may want to)
Any AirPods you connect to your iPhone will automatically take your first name and add AirPods afterward. For example, Christina’s AirPods/ Christina’s AirPods Pro/AirPods Max. If you want to change the name of your AirPods because you have multiple headphones or you know it’ll be easier to find, here’s how:
- Open Settings on your iPhone or iPad.
- Make sure your AirPods are connected.
- Tap on your AirPods at the top of the Settings list.
- Click on Name and change the name of your AirPods.
- Tap Done.
AirPods playback tips and tricks
Tips for making the most of AirPods’ multimedia playback
Here are a few ways to easily play your tunes through AirPods, and how to optimize the audio.
How to play and pause on the AirPods Pro and AirPods (3rd and 4th Gen)
The AirPods (3rd and 4th generations) and both models of AirPods Pro have a Force Touch sensor in their stem, moving control away from a tap and into a squeeze. To play or pause audio, squeeze the stem on your AirPods (3rd or 4th Generation) or AirPods Pro once.
How to play and pause on the AirPods Max
The AirPods Max have a Digital Crown at the top of the right earcup. Tap the Digital Crown once to play or pause.
How to skip or go back a track on the AirPods (3rd and 4th Gen) or AirPods Pro
To skip a track on the AirPods (3rd or 4th Gen) or AirPods Pro (1st or 2nd Gen, USB-C), you’ll need to squeeze the Force Touch Sensor on the stem of your AirPods twice. To go back to the previous track on AirPods Pro, squeeze the Force Touch sensor on the stem three times on your AirPods.
How to skip or go back a track on the AirPods Max
To skip a track on the AirPods Max, double press the Digital Crown at the top of the right earcup. To go back to the previous track on AirPods Max, triple press the Digital Crown at the top of the right earcup.
Turn on Active Noise Cancelation for just one earbud
It’s possible to turn on Active Noise Cancelation for just one AirPod if you have either the first, second generation or USB-C models of AirPods Pro. Naturally, the noise cancelation won’t be as effective as when you have both AirPods Pro in your ears, but a useful tip nonetheless.
- Open Settings.
- Accessibility > AirPods > Click on your AirPods Pro (1st or second gen) from the list.
- Toggle on Noise Cancelation with One AirPod.
How to turn on Spatial Audio for AirPods (3rd or 4th Gen), AirPods Pro, AirPods Max
AirPods (3rd and 4th Generation), AirPods Pro (1st and 2nd Gen, and USB-C) and AirPods Max have Spatial Audio – which is three-dimensional audio from supported videos and music that use the accelerometer and gyroscope in your iPhone to follow the movement.
To turn it on:
- Put the AirPods on and open the Control Center.
- Press and hold on the volume bar (when AirPods are in your ear) and tap on the Spatial Audio icon at the bottom of the screen.
How to turn on Personalized Spatial Audio
If you have AirPods (3rd or 4th Generation), AirPods Pro (1st or 2nd Gen, and USB-C) or AirPods Max, you can turn on Personalized Spatial Audio for a more immersive sound experience tailored to your ears.
- Open Settings on your iPhone or iPad.
- Make sure your AirPods are connected.
- Tap on your AirPods at the top of the Settings list.
- Scroll down to Personalized Spatial Audio.
- Turn on and follow the steps.
AirPods Siri tips and tricks
Apple has built some Siri virtual assistant functions into the mix
If you want to use Siri with your AirPods, here are some handy things to know first.
How to launch Siri on AirPods
To launch Siri on the first generation AirPods, you can double tap either the right or the left AirPod, unless you have changed the default. Siri will then launch on your iPhone or iPad.
To launch Siri on the second generation, third generation, and fourth generation AirPods or any model of the AirPods Pro, simply say “Hey Siri”. You’ll need to make sure you are using the latest software for it to work though.
To launch Siri on the AirPods Max, press and hold the Digital Crown on the top of the right earcup and say “Hey Siri”.
What can you ask Siri on AirPods?
Once you’ve launched Siri on your second generation AirPods, third generation AirPods, AirPods Pro or AirPods Max, you can ask a number of things, including any of the examples below:
- “Play my Favorites playlist”
- “Send a message to [contact name]”
- “Turn up the volume”
- “How do I get home from here?”
- “Skip to the next song”
- “Pause music”
- “How is the battery on my AirPods?”
How to enable head gestures for AirPods (4th generation) and AirPods Pro (2nd generation)
A recent update for the AirPods Pro (2nd generation) has enabled a particularly useful new Siri feature — head gesture controls. It allows you to simply nod or shake your head in either a ‘yes’ or a ‘no’ direction to interact with Siri, geared for use in environments where you might not want to use your voice directly. The feature is also available on the newly released AirPods (4th generation).
To take advantage of the new AirPods Pro (2nd generation) head gesture feature, you’ll want to make sure you’ve updated to firmware version 7A294 or newer.
The new head gesture functionality can be turned on from within the AirPods settings menu on iOS, iPadOS, or macOS. You also have granular control here to swap gestures and the corresponding results that they initiate. Simply head to Settings > Bluetooth > and tap on the i icon next to your connected AirPods, to access all head gesture settings.
AirPods call and microphone tips and tricks
AirPods can make for a great phone call experience
AirPods aren’t just for listening, but talking as well.
How to enable or disable Automatic Ear Detection
Automatic Ear Detection will automatically transfer the audio from connected devices to the AirPods or AirPods Pro when you put one or both in your ears. To turn on/off Automatic Ear Detection:
- Open Settings on your iPhone or iPad.
- Make sure your AirPods are connected.
- Tap on your AirPods at the top of the Settings list > Scroll down to Automatic Ear Detection.
- Toggle on or off.
How to enable or disable Automatic Head Detection
Automatic Head Detection will automatically transfer the audio from connected devices to the AirPods Max when you place them on your head. To enable:
- Open Settings on your iPhone or iPad.
- Make sure your AirPods are connected.
- Tap on your AirPods at the top of the Settings list > Scroll down to Automatic Head Detection.
- Toggle on or off.
How to change the active AirPod microphone
By default, the active microphone automatically switches between left and right AirPods, but you can change it, so it is fixed to one side.
- Open Settings on your iPhone or iPad.
- Make sure your AirPods are connected.
- Tap on your AirPods at the top of the Settings list.
- Scroll down to Microphone.
- Select your preference.
How to answer and end a call using your AirPods
It’s possible to answer a call directly from your AirPods, though we recommend switching the Announce Calls feature on so you know who you’re about to speak to.
To answer a call, just double tap one of your first or second generation AirPods when you hear the incoming call chime in your ear. For AirPods (3rd or 4th generation) and AirPods Pro (1st and 2nd Gen and USB-C), squeeze the Force Touch sensor.
On AirPods Max, push the Digital Crown on top of the right earcup once to answer a call.
To end a call, double tap one of your AirPods (first or second generation). Be careful when adjusting AirPods whilst on a call as we have accidentally ended a call mid-way through before.
For third generation AirPods or AirPods Pro (all models), double press the Force Touch sensor on the stem to end a call. If used to be a single press, but this now mutes a call, so be sure to double press to end it.
For AirPods Max, double press the Digital Crown on top of the right earcup once to end a call.
AirPods cleaning tips and tricks
Take care of your earbuds to keep them functioning at their best
Read below for how to keep your AirPods in your pocket and looking great.
How to clean AirPods
It’s by no means the official way to clean AirPods, but we find Blu-tak works great to get any dirt off the AirPods case.
We’ve also use baby wipes, but dirt sticks to Blu-tak, pulling it off the lip where you open and close the AirPods case and around the pairing button on the rear of the case.
Of course, cleaning with a soft, lint-free cloth or a soft-bristled brush is also a great way to clean your earbuds. The microphone and speaker meshes can be cleaned with a dry cotton swab, and you can remove any debris from the meshes with a clean, dry, soft-bristled brush.
AirPods tracking tips and tricks
Apple’s Find My Network offers an elegant location tracking solution
Apple
If you lose your AirPods, you can use the Find My app to locate them.
How to find lost AirPods
If you lost your AirPods nearby, in your home:
- Open Find My app on an iOS device or on iCloud.com.
- Tap on the Devices tab at the bottom > Find your AirPods in the list.
- Tap Play Sound. If only one AirPod is missing, you can mute the sound from the AirPod you haven’t lost. If you have the AirPods Pro (2nd Generation, or USB-C), Find My is built into the case so you can search for the AirPods and case separately.
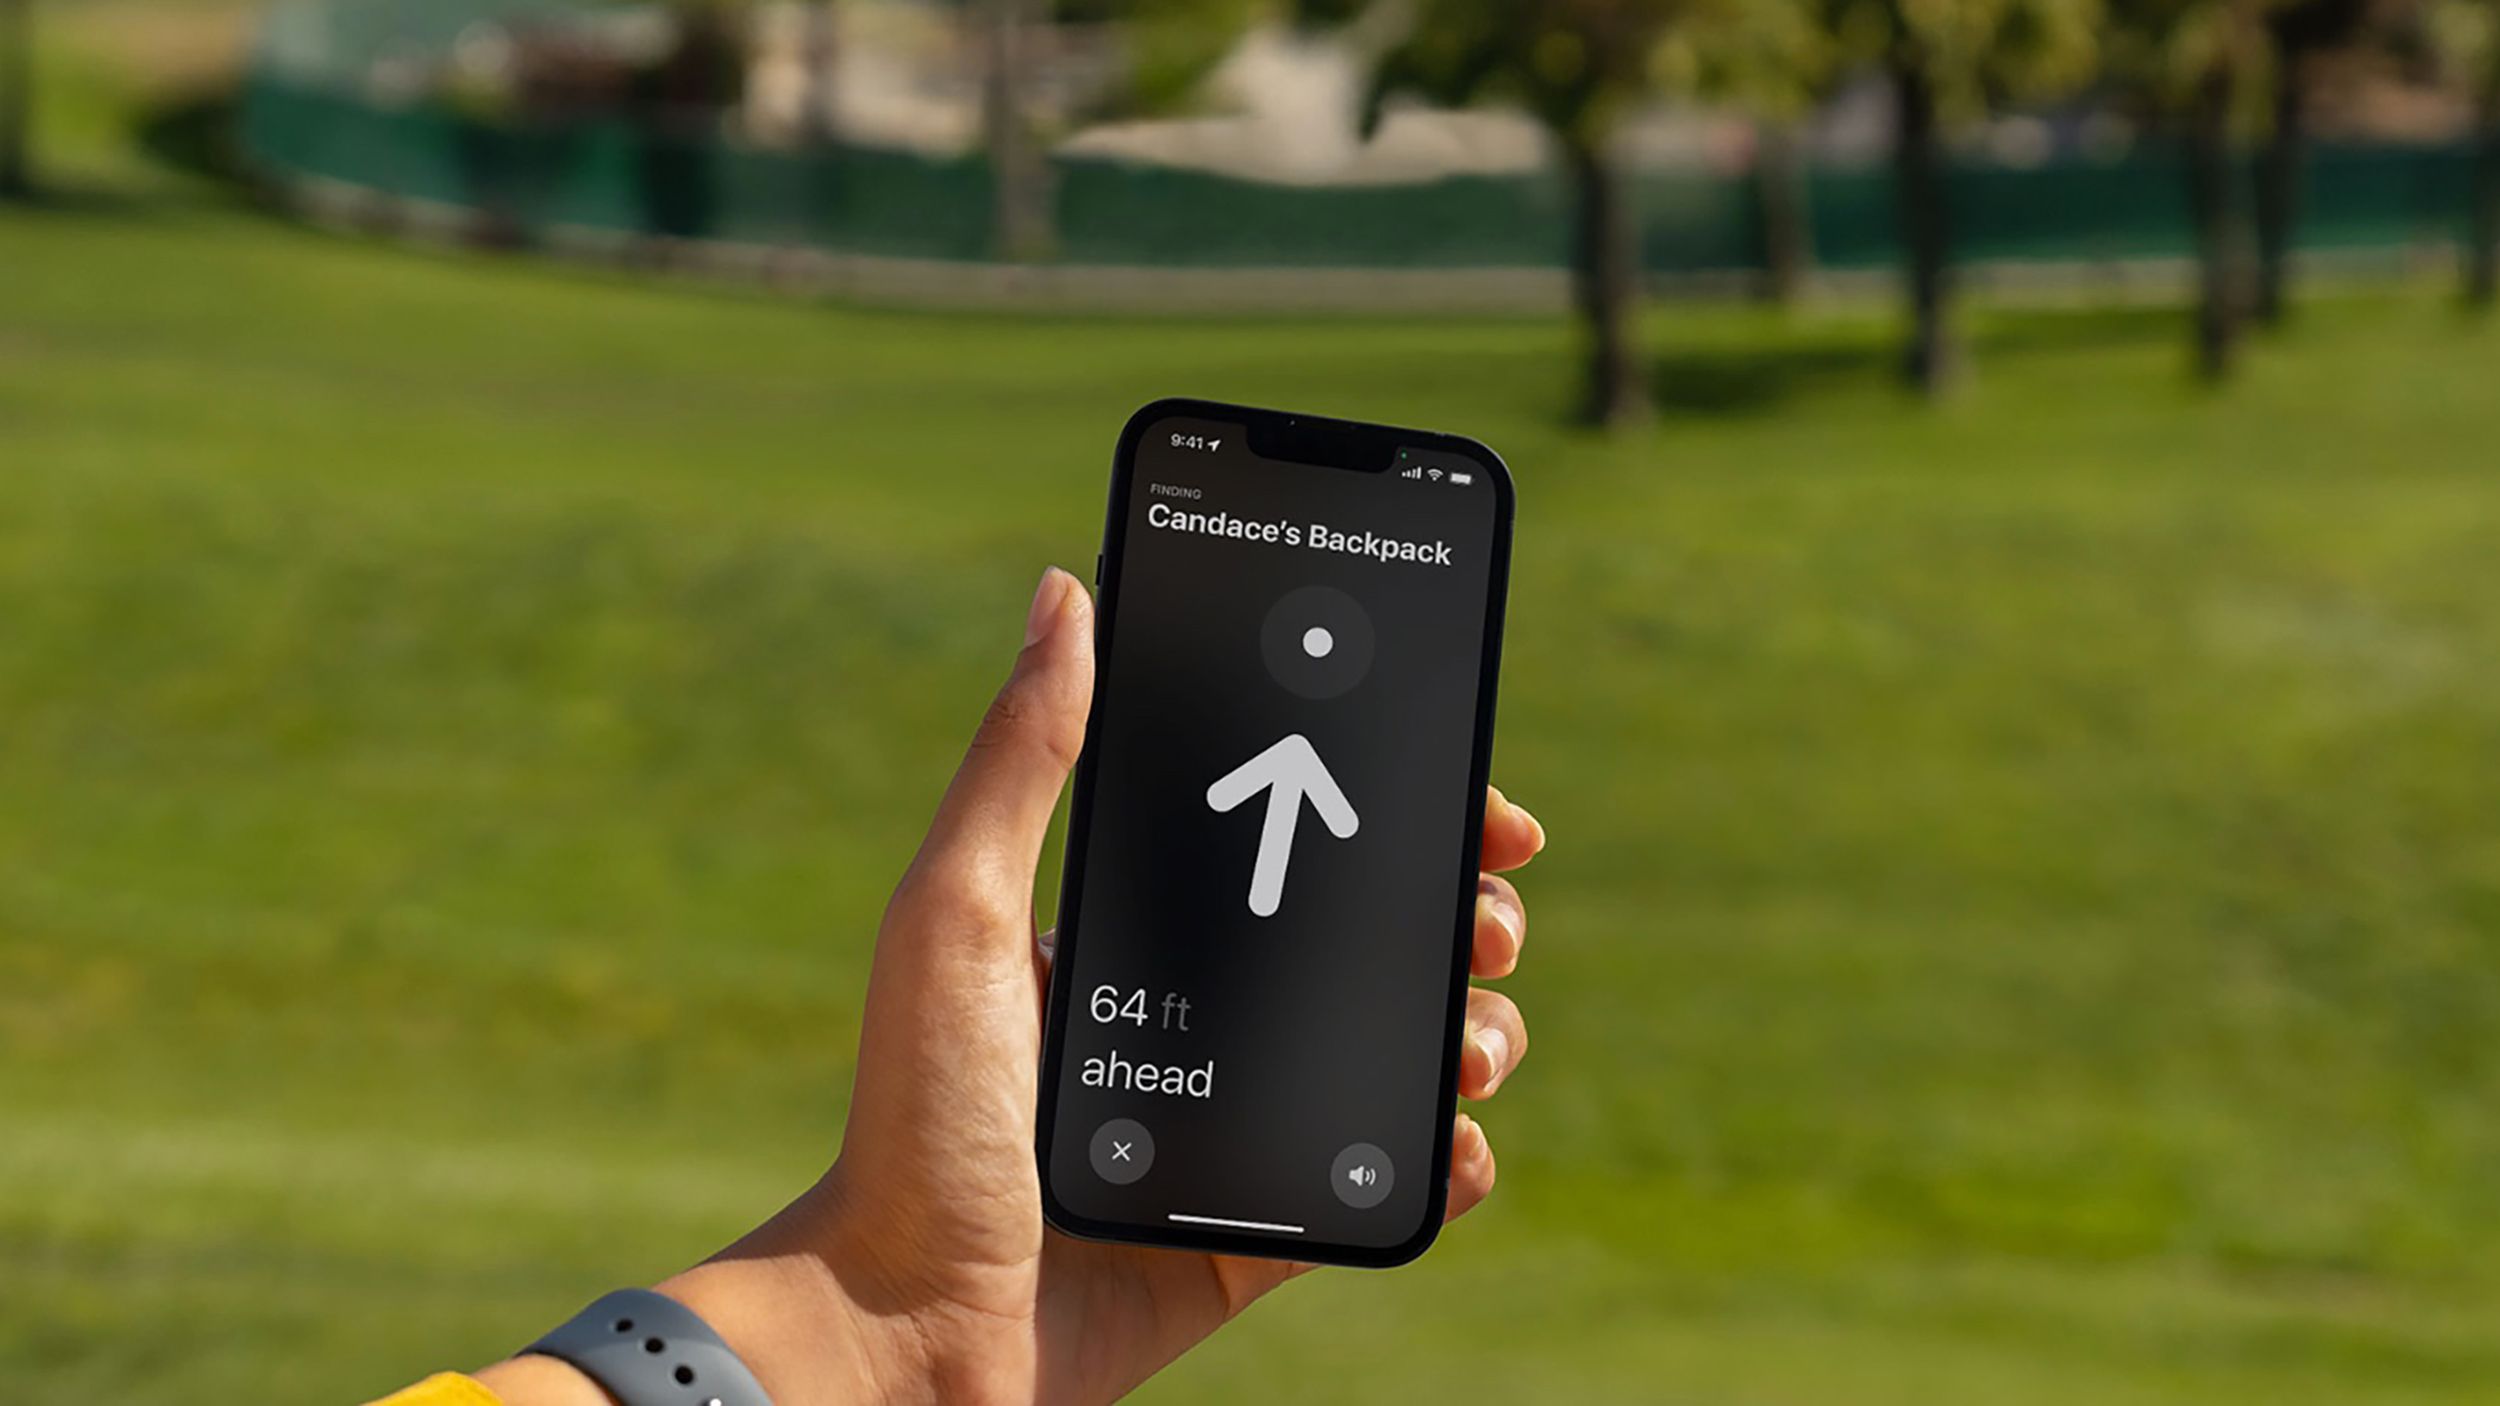
- There’s also a speaker to help you find the case. In the case of the USB-C AirPods Pro, these have the 2nd generation U chip so they will be easier to find with more precise directions, like AirTags offer.
The AirPods 4 without Active Noise Cancelation don’t come with a speaker embedded within the case — only the more expensive AirPods 4 with ANC offer the feature.
If you don’t know where you lost your AirPods:
- Open Find My app on an iOS device or iCloud.com.
- Tap on the Devices tab at the bottom.
- Find your AirPods in the list. The last place they were connected to an iPhone over Bluetooth will be displayed.
- You can then tap Directions to get directions to the last known location.
AirPods Pro hearing aid tips and tricks
The 2nd generation of AirPods Pro are slated to become clinical-grade hearing aids
Apple
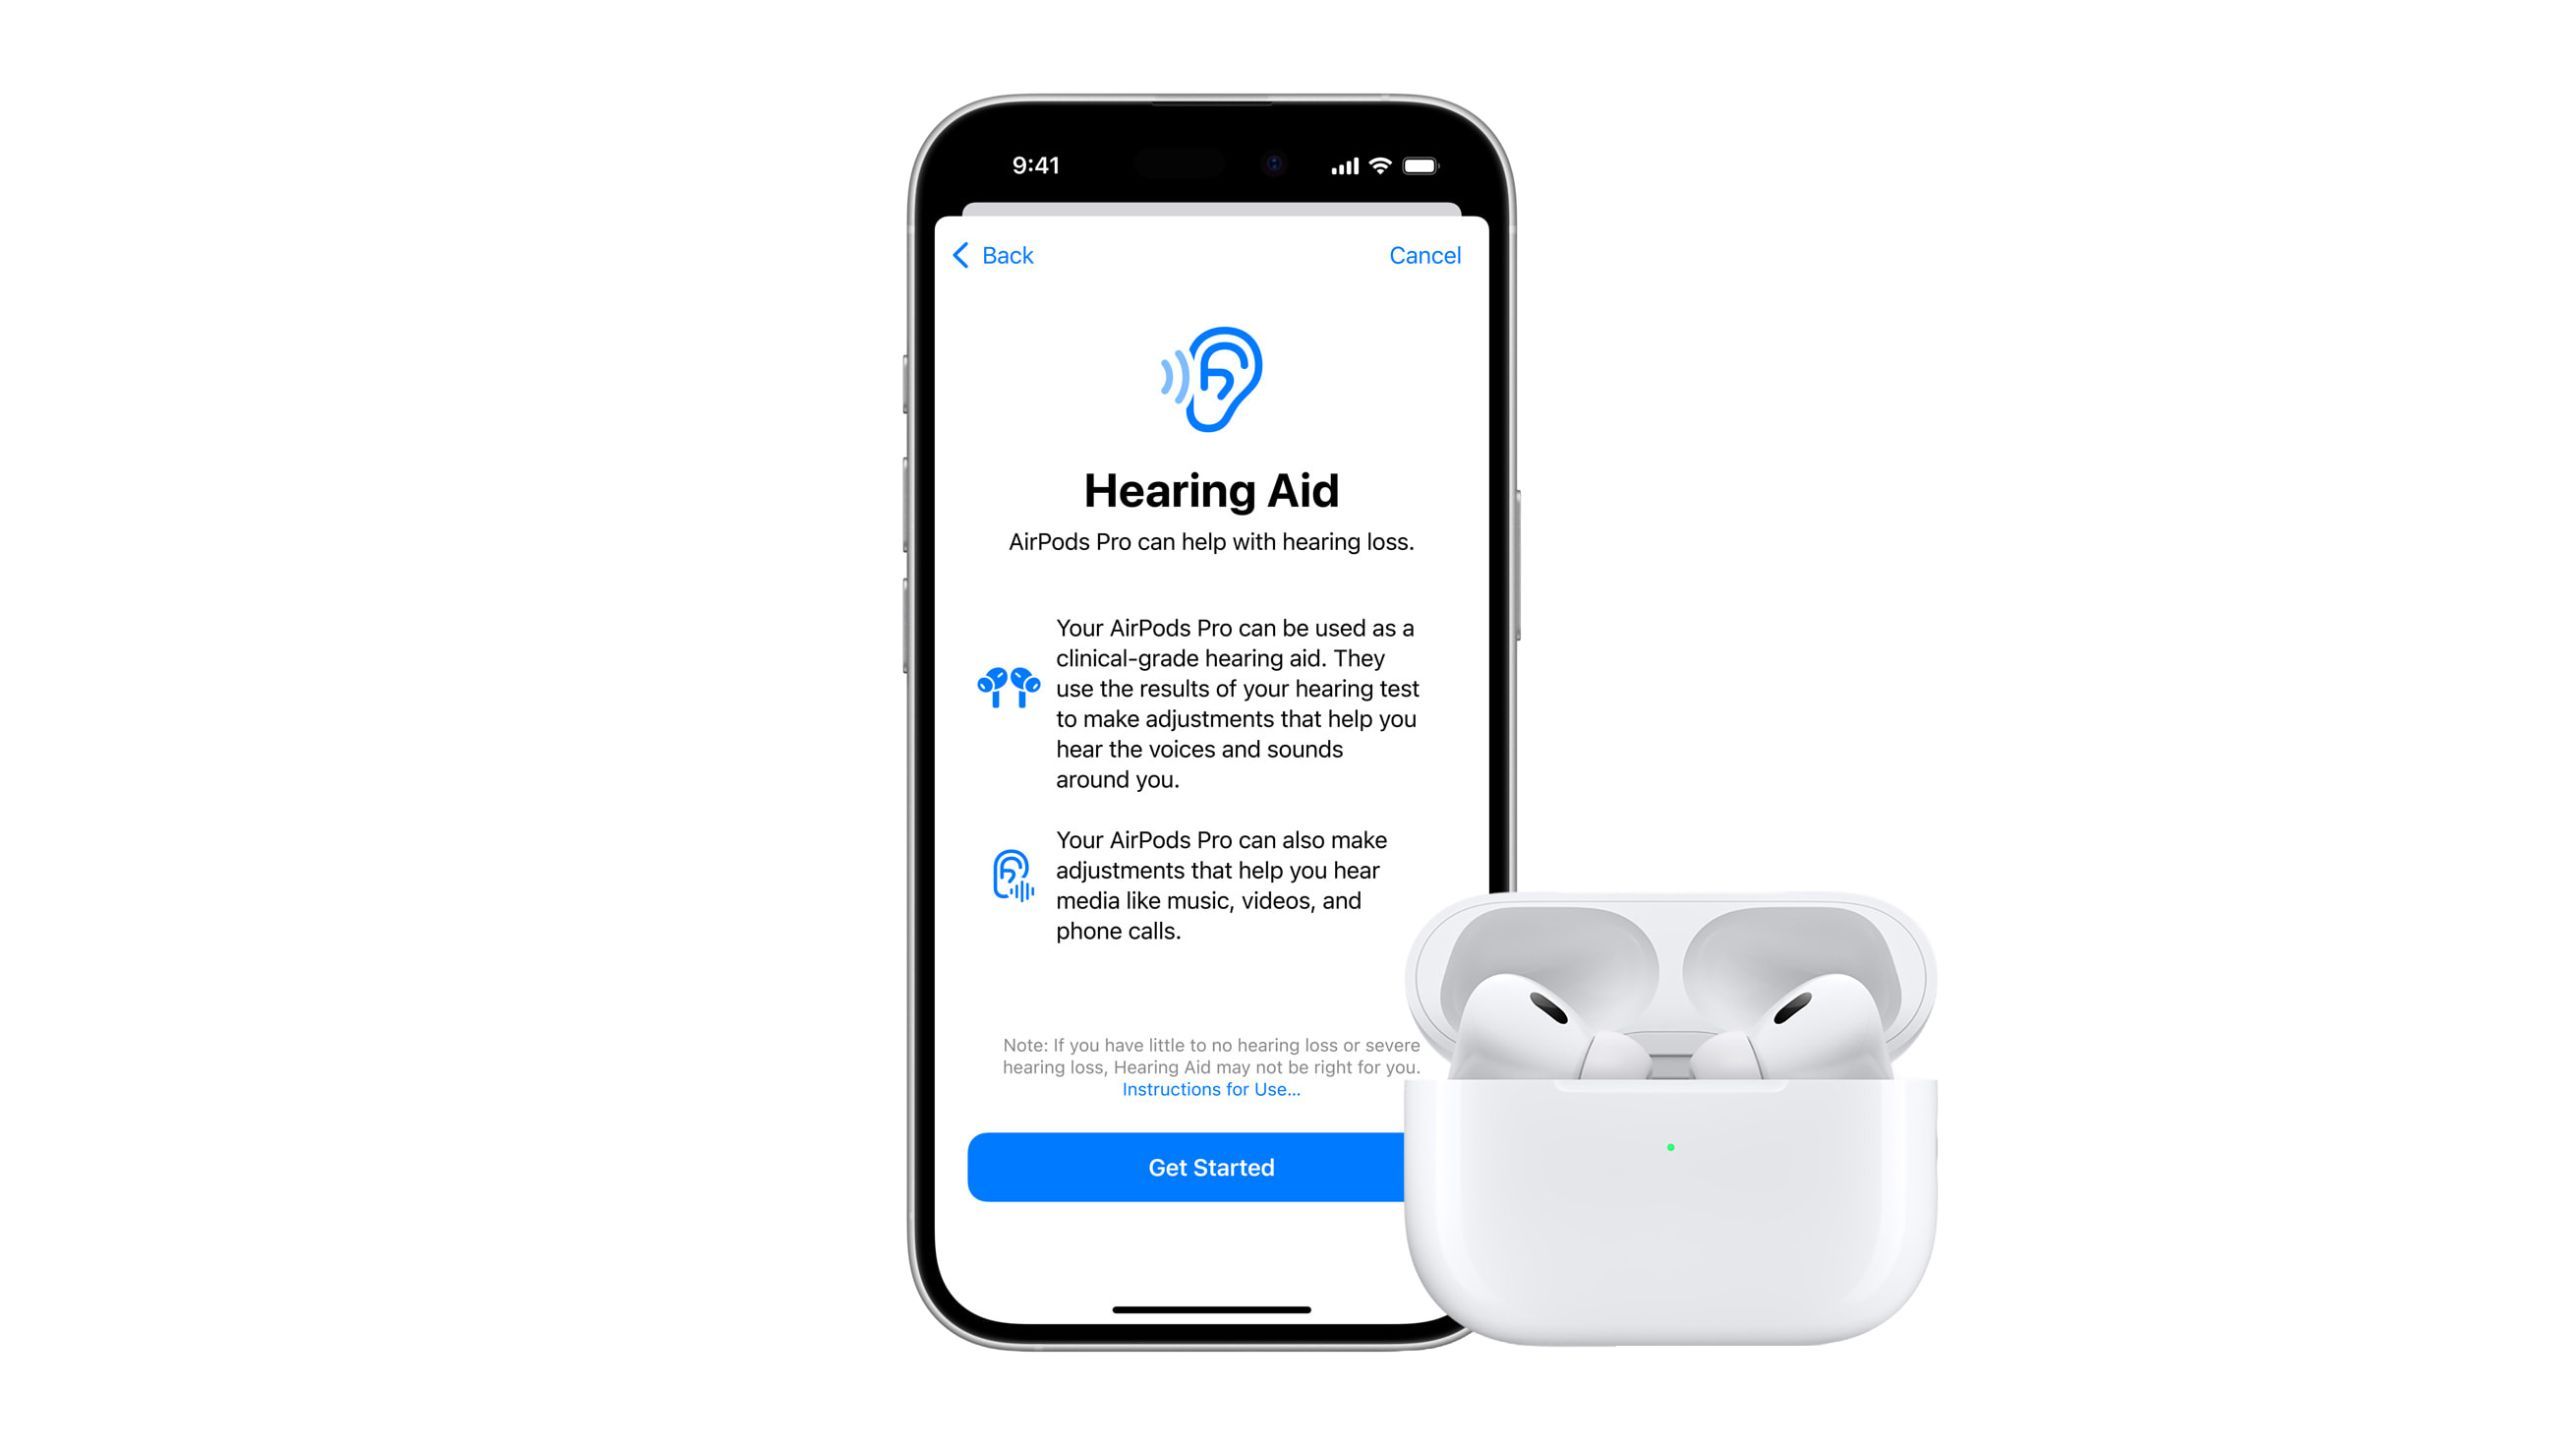
Apple has announced a brand-new hearing aid feature, coming exclusively to the AirPods Pro (2nd generation) via a software update. The company’s in-ear headphones have recently received FDA authorization, which should result in the feature arriving sooner rather than later.
A built-in audio test function is expected to aid in detecting individual levels of hearing loss, making use of a number of sequential frequencies to do so. Upon completing the test, dynamic adjustments will take place to mitigate difficulty with hearing.
“Using the personalized hearing profile from the Hearing Test, this new feature seamlessly transforms AirPods Pro into a clinical-grade hearing aid,” according to Apple.
Once Pocket-lint has had a chance to try out the new Hearing Aid and Hearing Test features, we’ll update this article with additional guidance.
AirPods firmware updating tips and tricks
Yes, your AirPods receive software updates as well
In order to take advantage of all the latest features, enhancements, and stability upgrades available for all supported models of AirPods, you’ll want to make sure they’re updated to the latest firmware version.
There’s currently no way to manually download and install AirPods firmware updates, as the process happens automatically in the background. That being said, you can access software version information within Settings.
How to check which AirPods firmware you’re currently on
To check the current firmware version of your AirPods:
- Navigate to Settings.
- Tap on Bluetooth.
- Under My Devices, tap on the i icon next to your connected AirPods.
- Under About, you’ll find a row that lists the current Version number.
Apple has a useful page on its support website, which lists the latest firmware versions for all AirPods models, along with release notes.
How to force an AirPods firmware update
While it’s not possible to directly force an AirPods update to download and install, you can increase the likelihood that the automatic update process will occur by following these steps:
- Place the AirPods inside their charging case (you can skip this step if you’re using a pair of AirPods Max).
- Plug the AirPods into a power source (wall outlet, computer, etc.)
- Rest the AirPods in proximity to the iPhone or iPad that they’re paired with.
Alternatively, if you plug the AirPods directly into a Mac and sit tight, the automatic update process should occur.
FAQ
Q: Are AirPods waterproof?
Neither the first or second generation of AirPods, or the AirPods Max are waterproof so don’t wear them swimming or in the shower. The third generation AirPods and the AirPods Pro (2nd Generation) are water resistant – IPX4 – which means they can handle a splash but not submerging. The AirPods Pro (USB-C) are IP54 rated so they offer better dust resistance.
The first and second generation original AirPods models aren’t said to be sweat proof either, though they are tested for everyday use and a manner of activities. We previously wore them for running and to the gym without an issue, but we’d certainly advise staying away from any waterfalls or swimming pools. The AirPods Pro (1st and 2nd Gen) and third generation AirPods are sweat resistant.
Q: Which devices are compatible with AirPods?
Apple AirPods, AirPods Pro and AirPods Max work with iPhone, Apple Watch, iPad and Macs.
You’ll need an iPhone 5 or later for the first or second generation models and an iPhone 6S or later for the AirPods Pro (all models). The AirPods Max and AirPods (3rd generation) require an iPhone 8 or later. The AirPods 2 need iOS 12.2 and WatchOS 5 to offer all their features and the AirPods Pro (1st Gen) need iOS 13.2, while the second gen model needs iOS 17 for access to all features, including Conversation Awareness mode. The AirPods Max need iOS 14.3 or later to access all their features. The AirPods (3rd generation) need iOS 17 or later to access everything.
AirPods also work with PCs and Android devices, including Samsung and Huawei, though both these companies have their own alternatives to AirPods.
You can read more about the features offered by AirPods on Android devices in our separate feature.
Q: What colors do the AirPods come in?
Apple AirPods and AirPods Pro are only available in white. There were some rumors of black AirPods, but they have yet to appear. Maybe 2024 will bring some new colors if not new features. We’ll keep on the lookout.
AirPods Max, however, are a bit more versatile and launched in space grey, silver, green, sky blue and pink. At its keynote in September 2024, Apple introduced some new colorways into the AirPods Max lineup: they can now be had in blue, purple, midnight, starlight, or orange.
Q: How much are AirPods, and which ones can I buy?
Apple only sells the fourth generation AirPods, the second generation AirPods Pro, and the AirPods Max now. The earlier generation AirPods and first gen AirPods Pro have been discontinued, while the AirPods Pro (2nd Generation) were replaced by a USB-C variant in September 2023.
The AirPods 4 start at $130 in the US for the standard non-active noise cancelation model. The ANC-enhanced edition costs $180.
It’s also possible to buy the wireless charging case separately for $80. The wireless charging case is also compatible with the first generation AirPods and second generation AirPods.
The AirPods Pro 2nd Generation (USB-C) cost $250 in the US, and come with a wireless charging case as standard. You can also personalize them for free. While Apple doesn’t sell the AirPods Pro (2nd Generation) anymore, you can still get hold of the Lightning model from some other retailers, normally around $200.
The AirPods Pro Max, the company’s most premium AirPods product, cost $550.
Trending Products

Cooler Master MasterBox Q300L Micro-ATX Tower with Magnetic Design Dust Filter, Transparent Acrylic Side Panel, Adjustable I/O & Fully Ventilated Airflow, Black (MCB-Q300L-KANN-S00)

ASUS TUF Gaming GT301 ZAKU II Edition ATX mid-Tower Compact case with Tempered Glass Side Panel, Honeycomb Front Panel, 120mm Aura Addressable RGB Fan, Headphone Hanger,360mm Radiator, Gundam Edition

ASUS TUF Gaming GT501 Mid-Tower Computer Case for up to EATX Motherboards with USB 3.0 Front Panel Cases GT501/GRY/WITH Handle

be quiet! Pure Base 500DX ATX Mid Tower PC case | ARGB | 3 Pre-Installed Pure Wings 2 Fans | Tempered Glass Window | Black | BGW37

ASUS ROG Strix Helios GX601 White Edition RGB Mid-Tower Computer Case for ATX/EATX Motherboards with tempered glass, aluminum frame, GPU braces, 420mm radiator support and Aura Sync


