Key Takeaways
- Screen recording is a convenient and easy way of quickly sharing the contents of your screen.
- With Android 11, Google built screen recording directly into its mobile OS. You can now easily capture a video of your display on nearly every modern Android phone, without the need for any additional software.
- Third-party screen recording apps are still available, but you should be careful when installing them.
Sometimes, you simply have to show somebody what’s happening on your smartphone’s display. Whether it’s a spicy piece of gossibpthat needs to be discussed in a group chat or a strange bug that needs reporting to IT, capturing a quick video is a convenient and easy way of quickly sharing the contents of your screen. It lets you show much more than simply taking screenshots, and even allows you to attach sound to the message to make it a complete picture.
For a while, Android was notorious for lacking a way to record a video of what’s going on right on your device. Sure, there were some third-party apps that could do that, but the system lacked built-in, first-party tools to do that. Fortunately, things have changed massively since then, and with Android 11, Google built this feature right into the system itself. You can now easily capture a video of your display on every Android phone, without the need for any additional software. Here’s how to do it:
Related
8 Android apps for watching TV, movies and podcasts anywhere
Improve your viewing and listening experience on Android phones with these 8 media apps.
How to screen record on Android?
You’re always just a few taps away
As I mentioned, every Android phone released in the last few years comes with a screen recorder already pre-installed as a native part of the operating system. That means you don’t need to download any suspicious third-party apps to be able to record a video of your desktop, making the process easy and more secure.
In general, recording is extremely easy and requires just a few clicks. Note, though, that the specifics of the process will vary between devices and brands, but the steps in general will be very similar regardless of whether you’re using a Samsung Galaxy, a Google Pixel, or any other device running Android. Here’s what you need to look out for if you want to record a clip of your screen.
The quick settings tile
Android’s screen recorder feature exists as its own tile in the quick settings panel of the notification shade. If you don’t already have it in your active drawer, you may need to tap on the edit button, the pencil icon, or long-press the gear icon to pull up the full tiles listing. Look for the Screen recorder tile, then long-press and drag it up into your active drawer so that you can use the feature. Once it’s there, you’re ready to record your screen.
Related
5 upgrades that’d make Android 15 the perfect mobile OS for me
Android is a mature operating system, but there’s plenty more I’d love to see added to the platform.
How to start screen recording on Android?
Recording your screen on Android is extremely convenient and easy. In general, the process will be very similar on every Android phone, but some settings you can adjust on the fly might differ from manufacturer to manufacturer. In our case, we’ll be showing you the process using a Google Pixel, but the basic steps will be the same no matter the brand of your phone.
- Swipe down from your notification shade to reveal all the quick settings tiles.
- Find the Screen recorder tile and tap it.
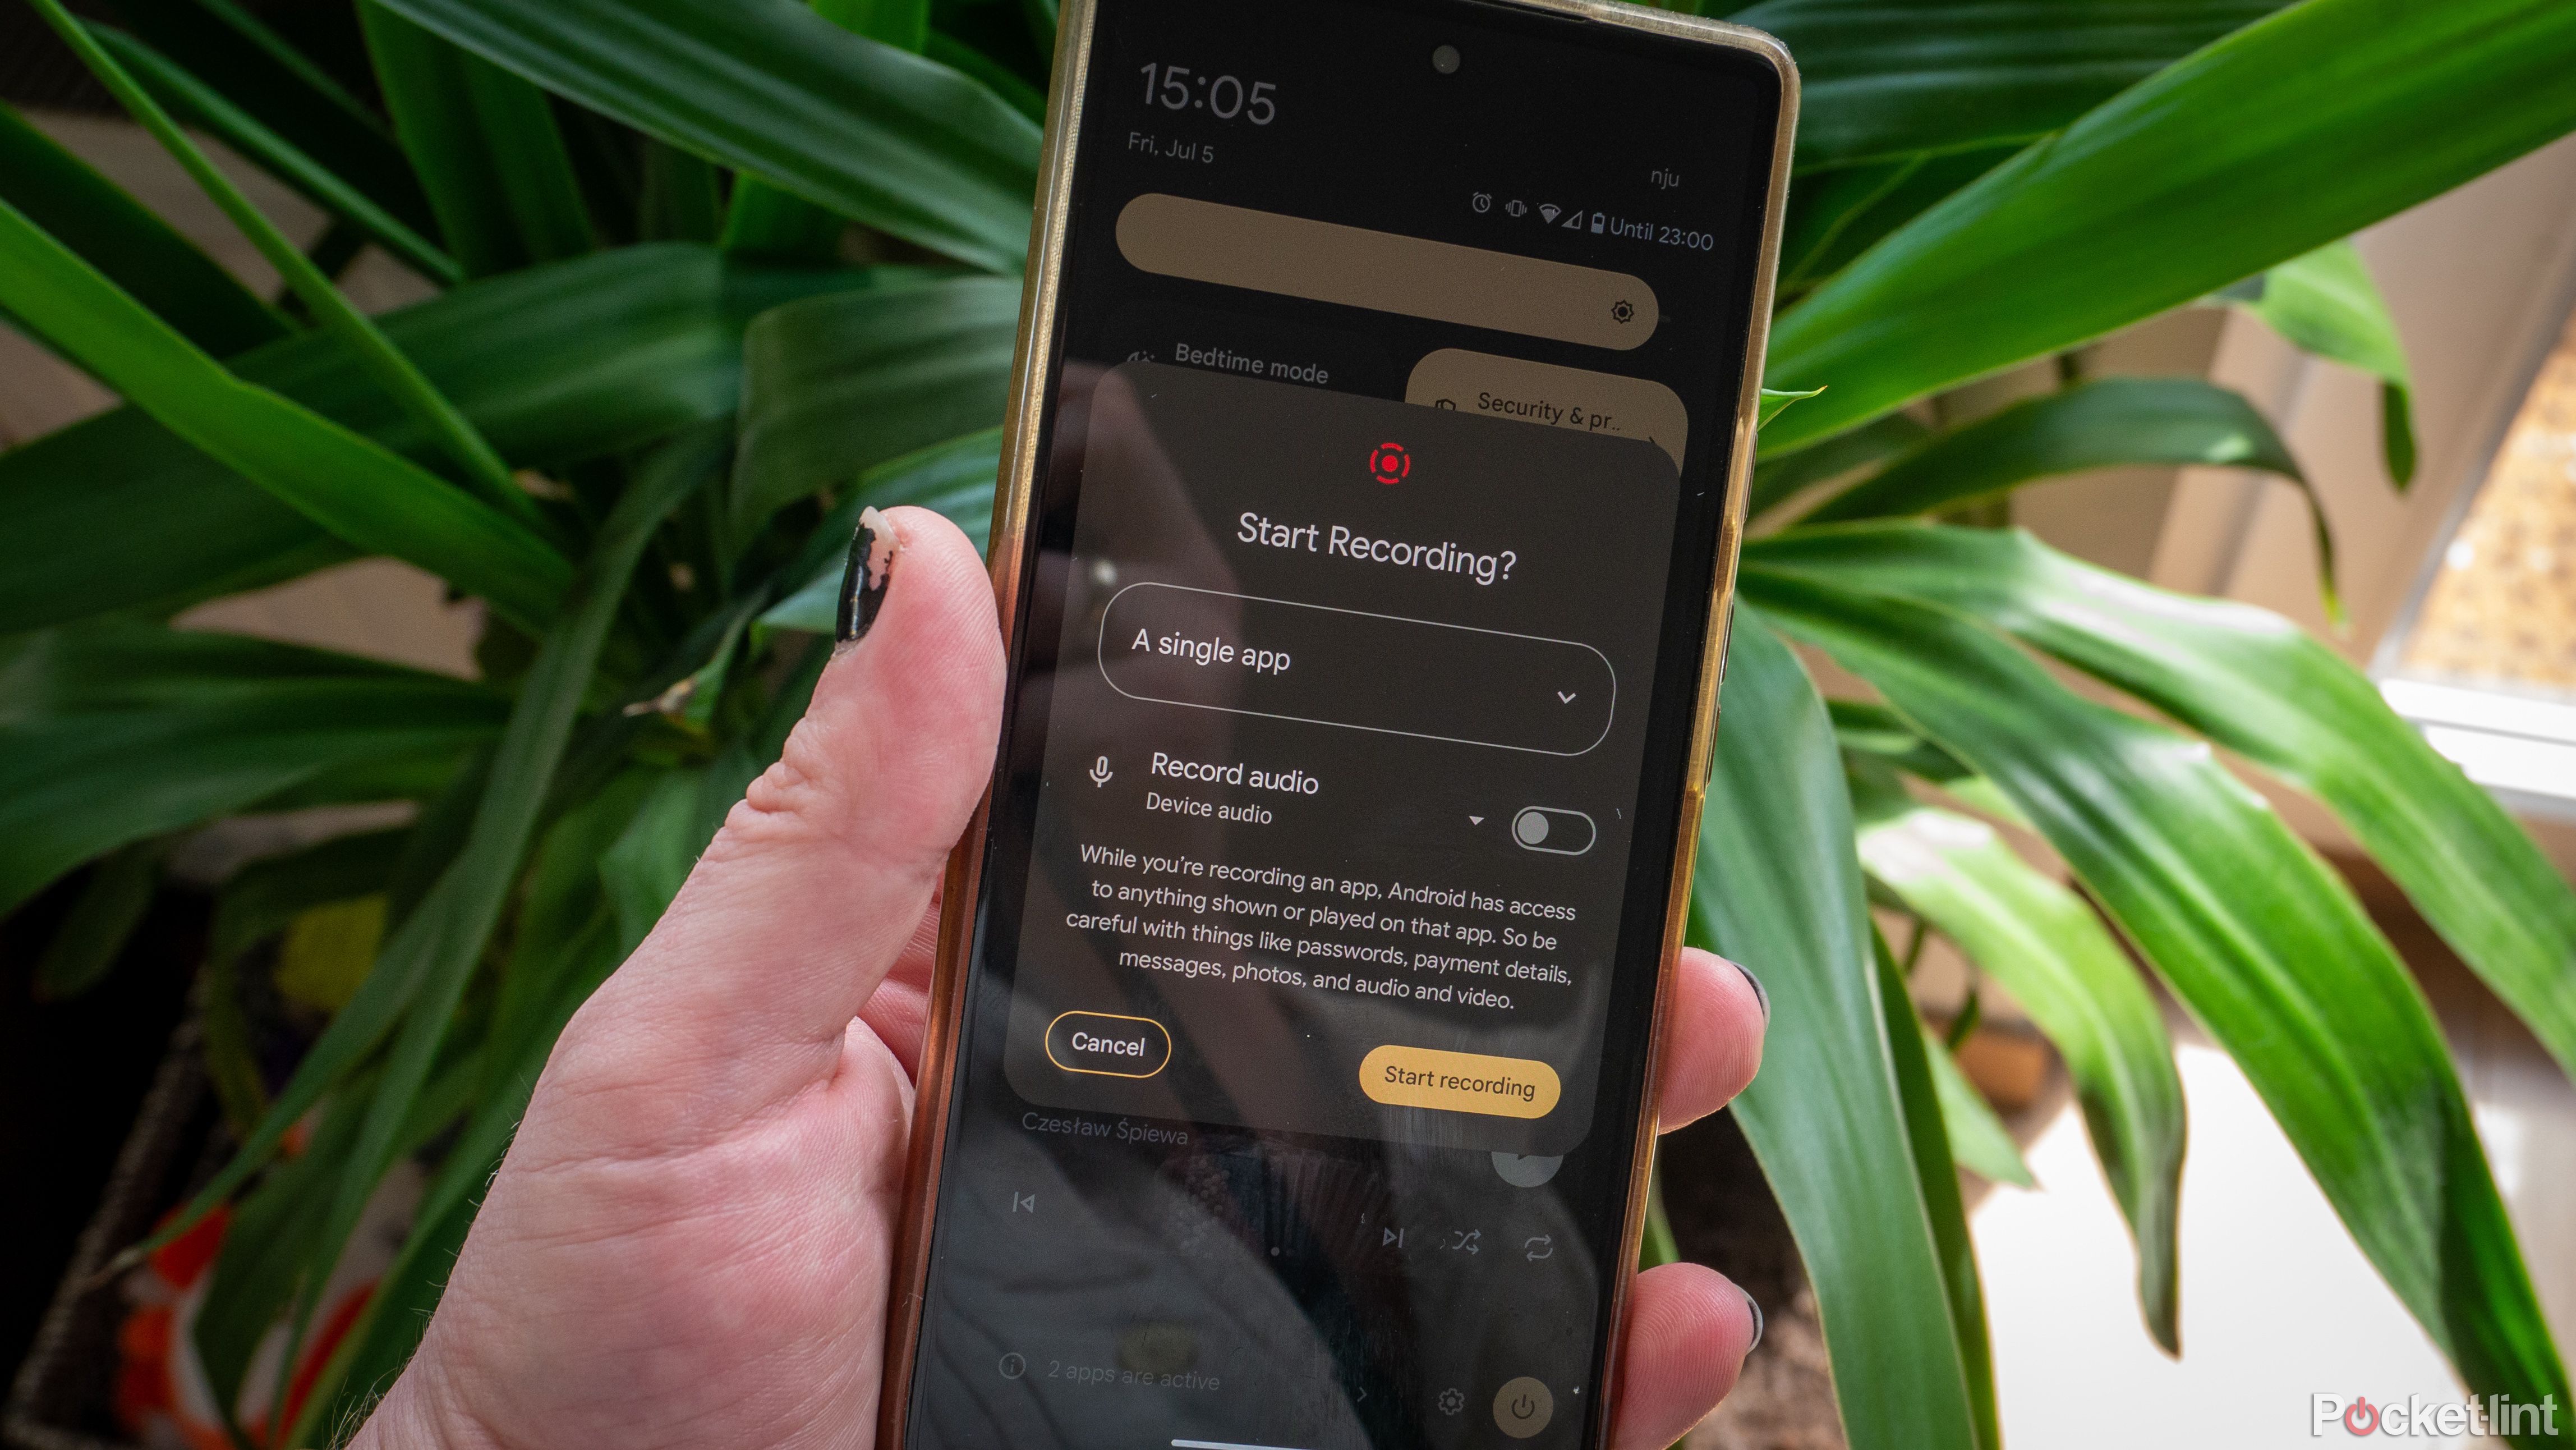
- A Screen recorder window should pop up with various settings to adjust.
- At the top, in a drop-down menu, you’ll be able to choose whether you want to record a single app only, or record your whole screen, letting you switch between apps freely during the recording.
- Below that, you’ll see a drop-down menu with audio recording settings. You can choose between recording audio from the device, audio from the device’s microphone, or both. Once you choose which one to use, a toggle to the right of the menu allows you to turn audio recording on or off.
- If you’ve chosen to record the entire screen, you’ll also be able to choose between showing your touches on the screen in the recording or not. Use the toggle to turn that feature on or off.
- Once you’re ready to start the recording, simply tap on the Start recording button in the bottom right corner of the window.
- If you’ve chosen to record a single app, you’ll have to choose which application you want to record
- After that, you’ll see a countdown begin in the upper right corner of the display. After a brief delay, your screen recording will start.
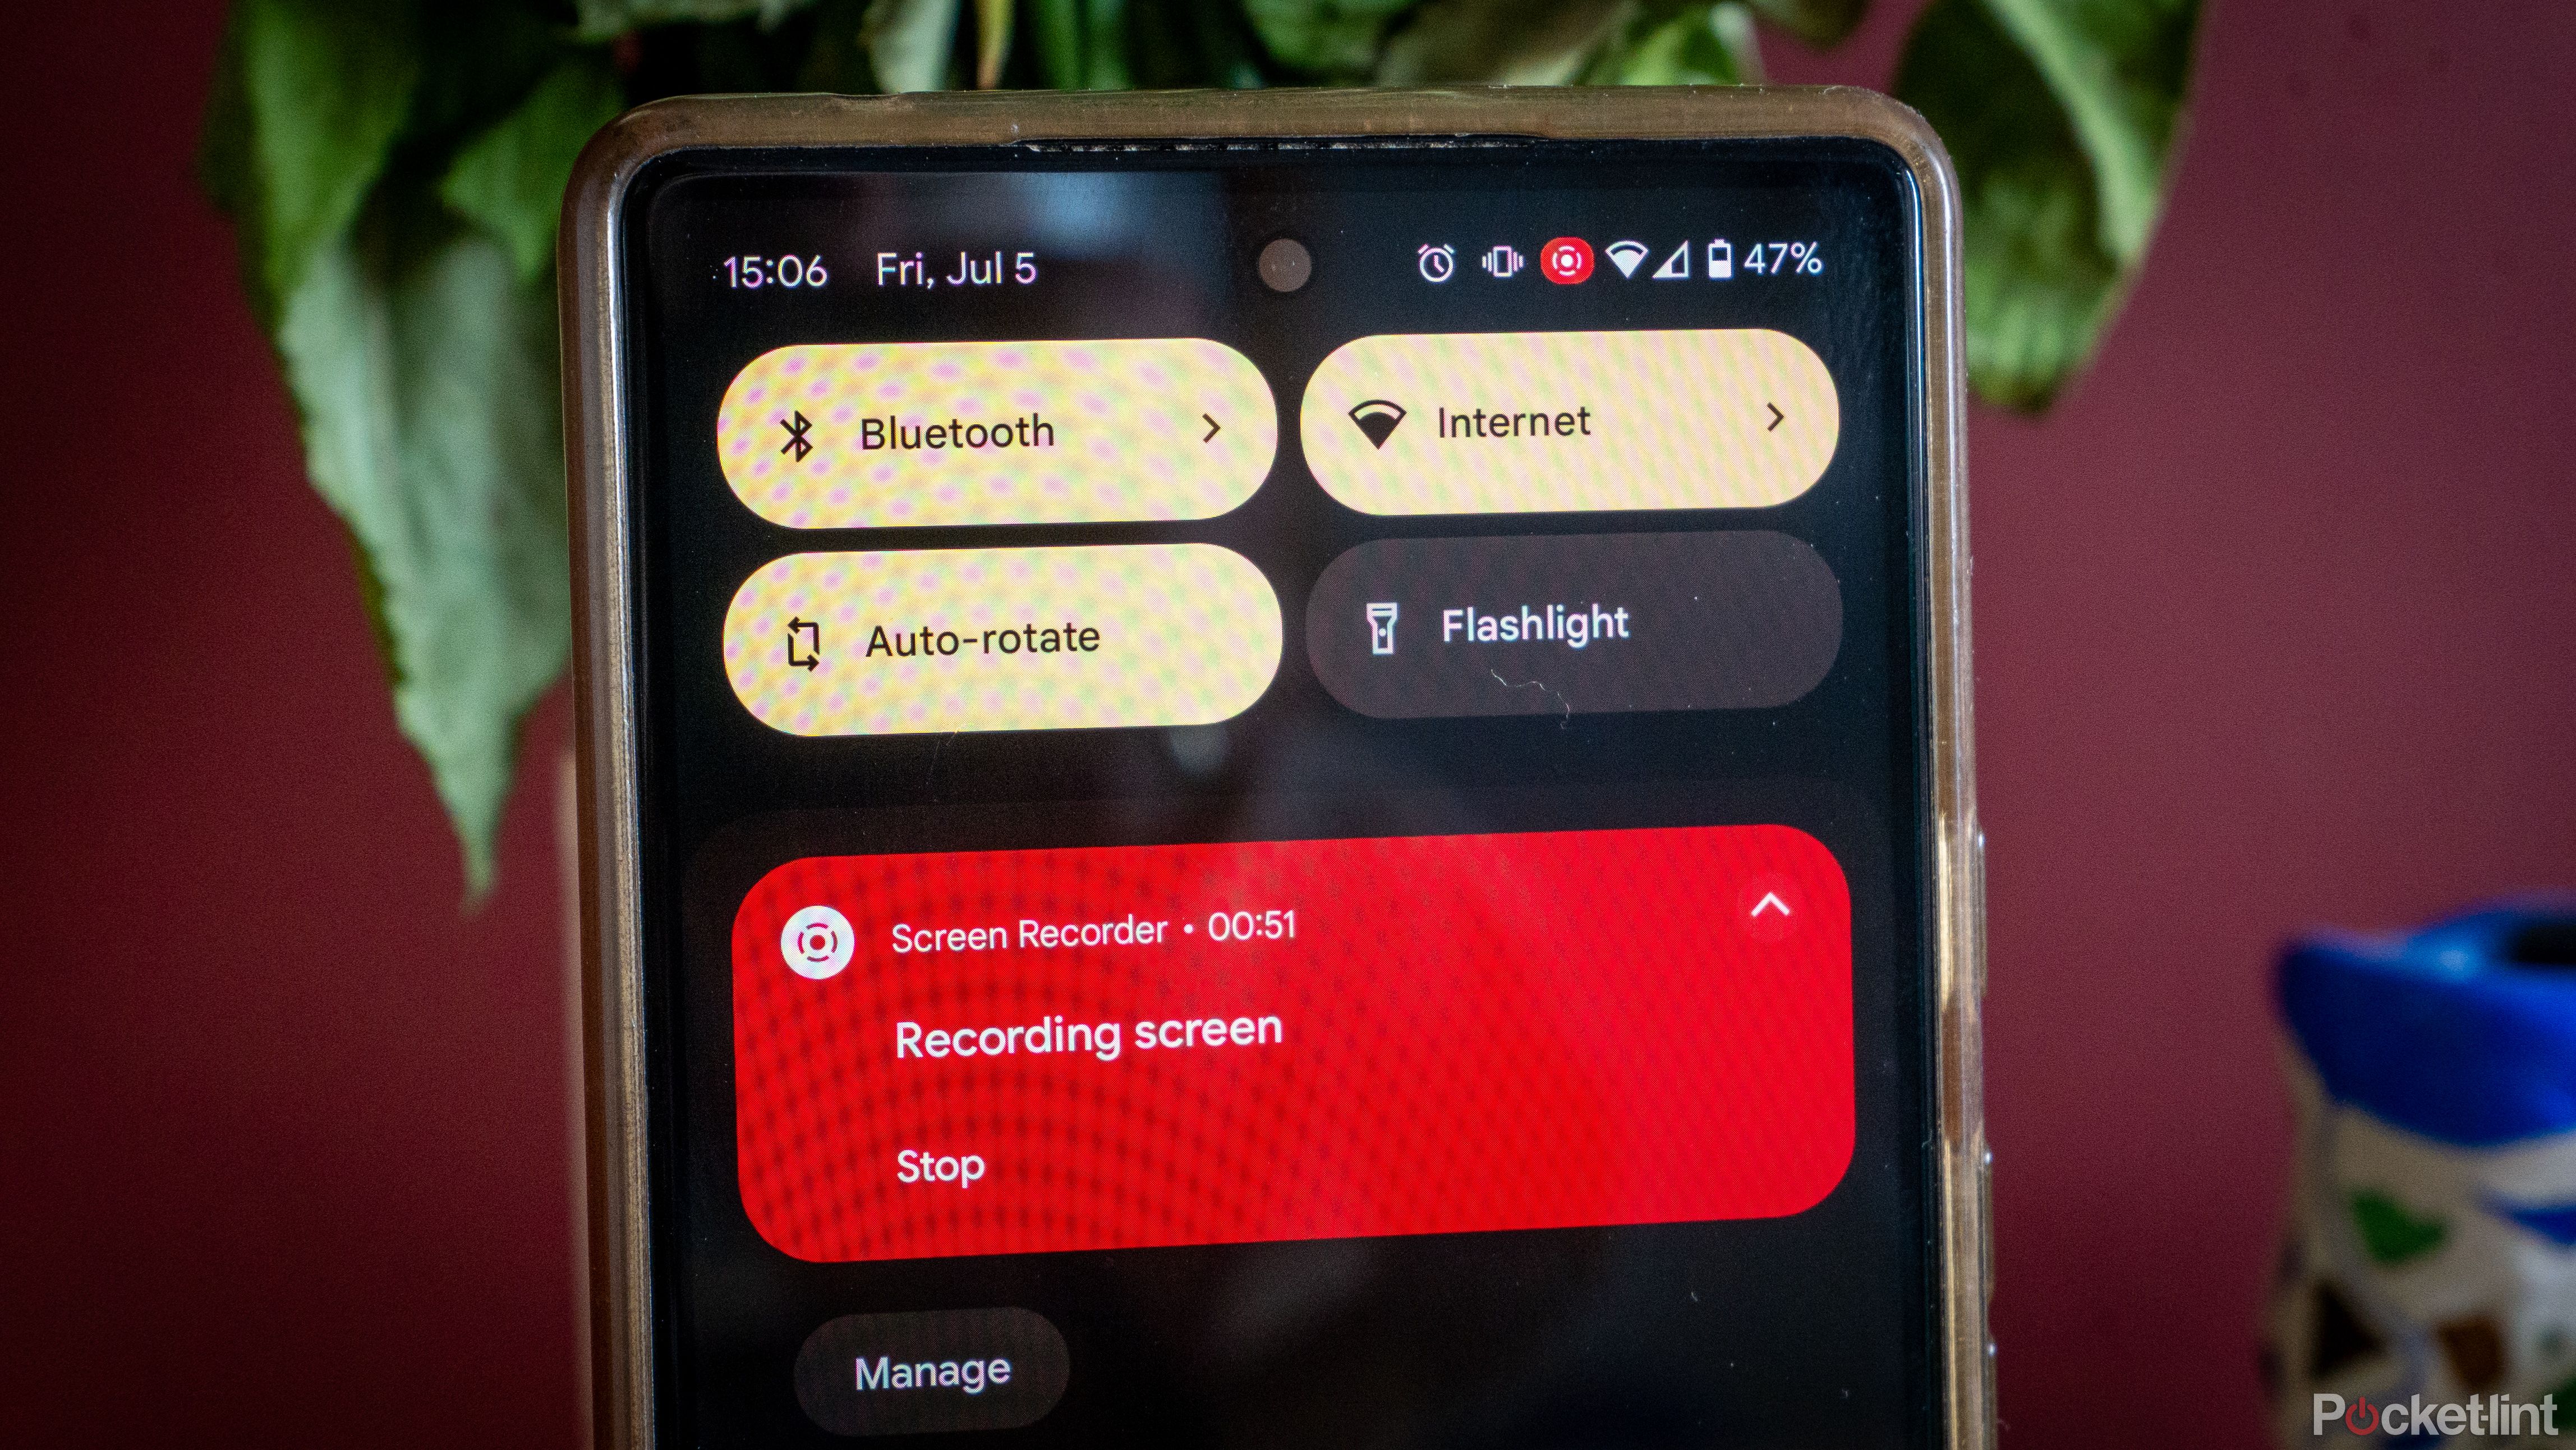
- Your phone will notify you that the contents of your screen are being recorded using a recording icon that appears next to your battery and signal strength status. Another notification will also appear in your notifications tray as well.
- When you want to stop the recording, simply tap the Stop button in the screen recorder notification.
- After a brief processing, you’ll receive another notification that your screen capture is ready to view. You can view it from the notification, or tap Share in order to instantly send it to someone else.
Where will I find my recordings?
As I’ve mentioned, right after making a recording, it’s really easy to access it by simply tapping on the notification. However, if you want to return to that recording later, you might be wondering where they are stored. Fortunately, getting to them is quick and simple, and you shouldn’t have any problems retrieving your screen captures. Here’s where to find them:
- Go to the Files app on your smartphone
- Go to the Videos tab
- Now, choose the Screen Recorder folder
- You should see all your screen recordings here.
If you cannot see a folder named Screen recorder, you can also simply browse all videos in this tab — your screen recordings are sure to be there.
A note on what you can (and should) record
Android has a set of restrictions that your system or an application can utilize to prevent content from being captured in a screen recording. This can include DRM-protected video, passwords or authentication codes in a manager app, and other personally identifiable or protected data. Your screen recorder won’t stop recording when it comes across these situations — the screen will just be blacked out. You should, however, be mindful of any sensitive information you may have on recordable surfaces, including your communication apps and places like your calendar.
How to record your gameplay on your Android phone
If you’re an avid mobile gamer, you might also want to record footage of your gameplay while using your phone, or you might simply need some Subway Surfers footage to put in your TikToks. Whatever the case, Google Play Games allows you to record what you do in some games. This feature won’t work with everything, but if Google Play Games pops up your player rank upon booting up a game, you should be able to use the feature. Here’s what you need to do:
- Launch the compatible game
- Swipe down from the top of the screen, and you should see a controller icon
- Tap that icon, and you’ll be taken to a settings menu specific to Google Play Games
- From there, press the record icon to enable a screen recording shortcut
- Go back to the game, and you should see a minimized menu on the right edge of the screen. Tap on the arrow to extend it
- In the quick settings menu, tap the recording button
- In the pop-up menu you can choose if you want to record audio as well, and in the drop-down menu you can select the source for your audio
- Once you’re happy with the settings, tap Start recording to begin the footage
- The recording icon will turn red, indicating that your screen is being captured
- In order to stop the recording, tap the red recording icon again. After some processing, your gameplay will be ready to be shared.
Once you’re done, you can then save and share the recording or edit it and upload it to your favorite social media platform.
Should you screen record with a third-party app instead?
Generally, there’s a clear winner
Generally, if you have a first-party solution available, it’s probably better to stick to it rather than rely on an outside developer. You can be sure that it’s safe and secure, which is even more important when it comes to contents as sensitive as recordings of your display. Third-party apps, on the other hand, can be more prone to data leaks or malicious developers, making native applications a better choice.
Related
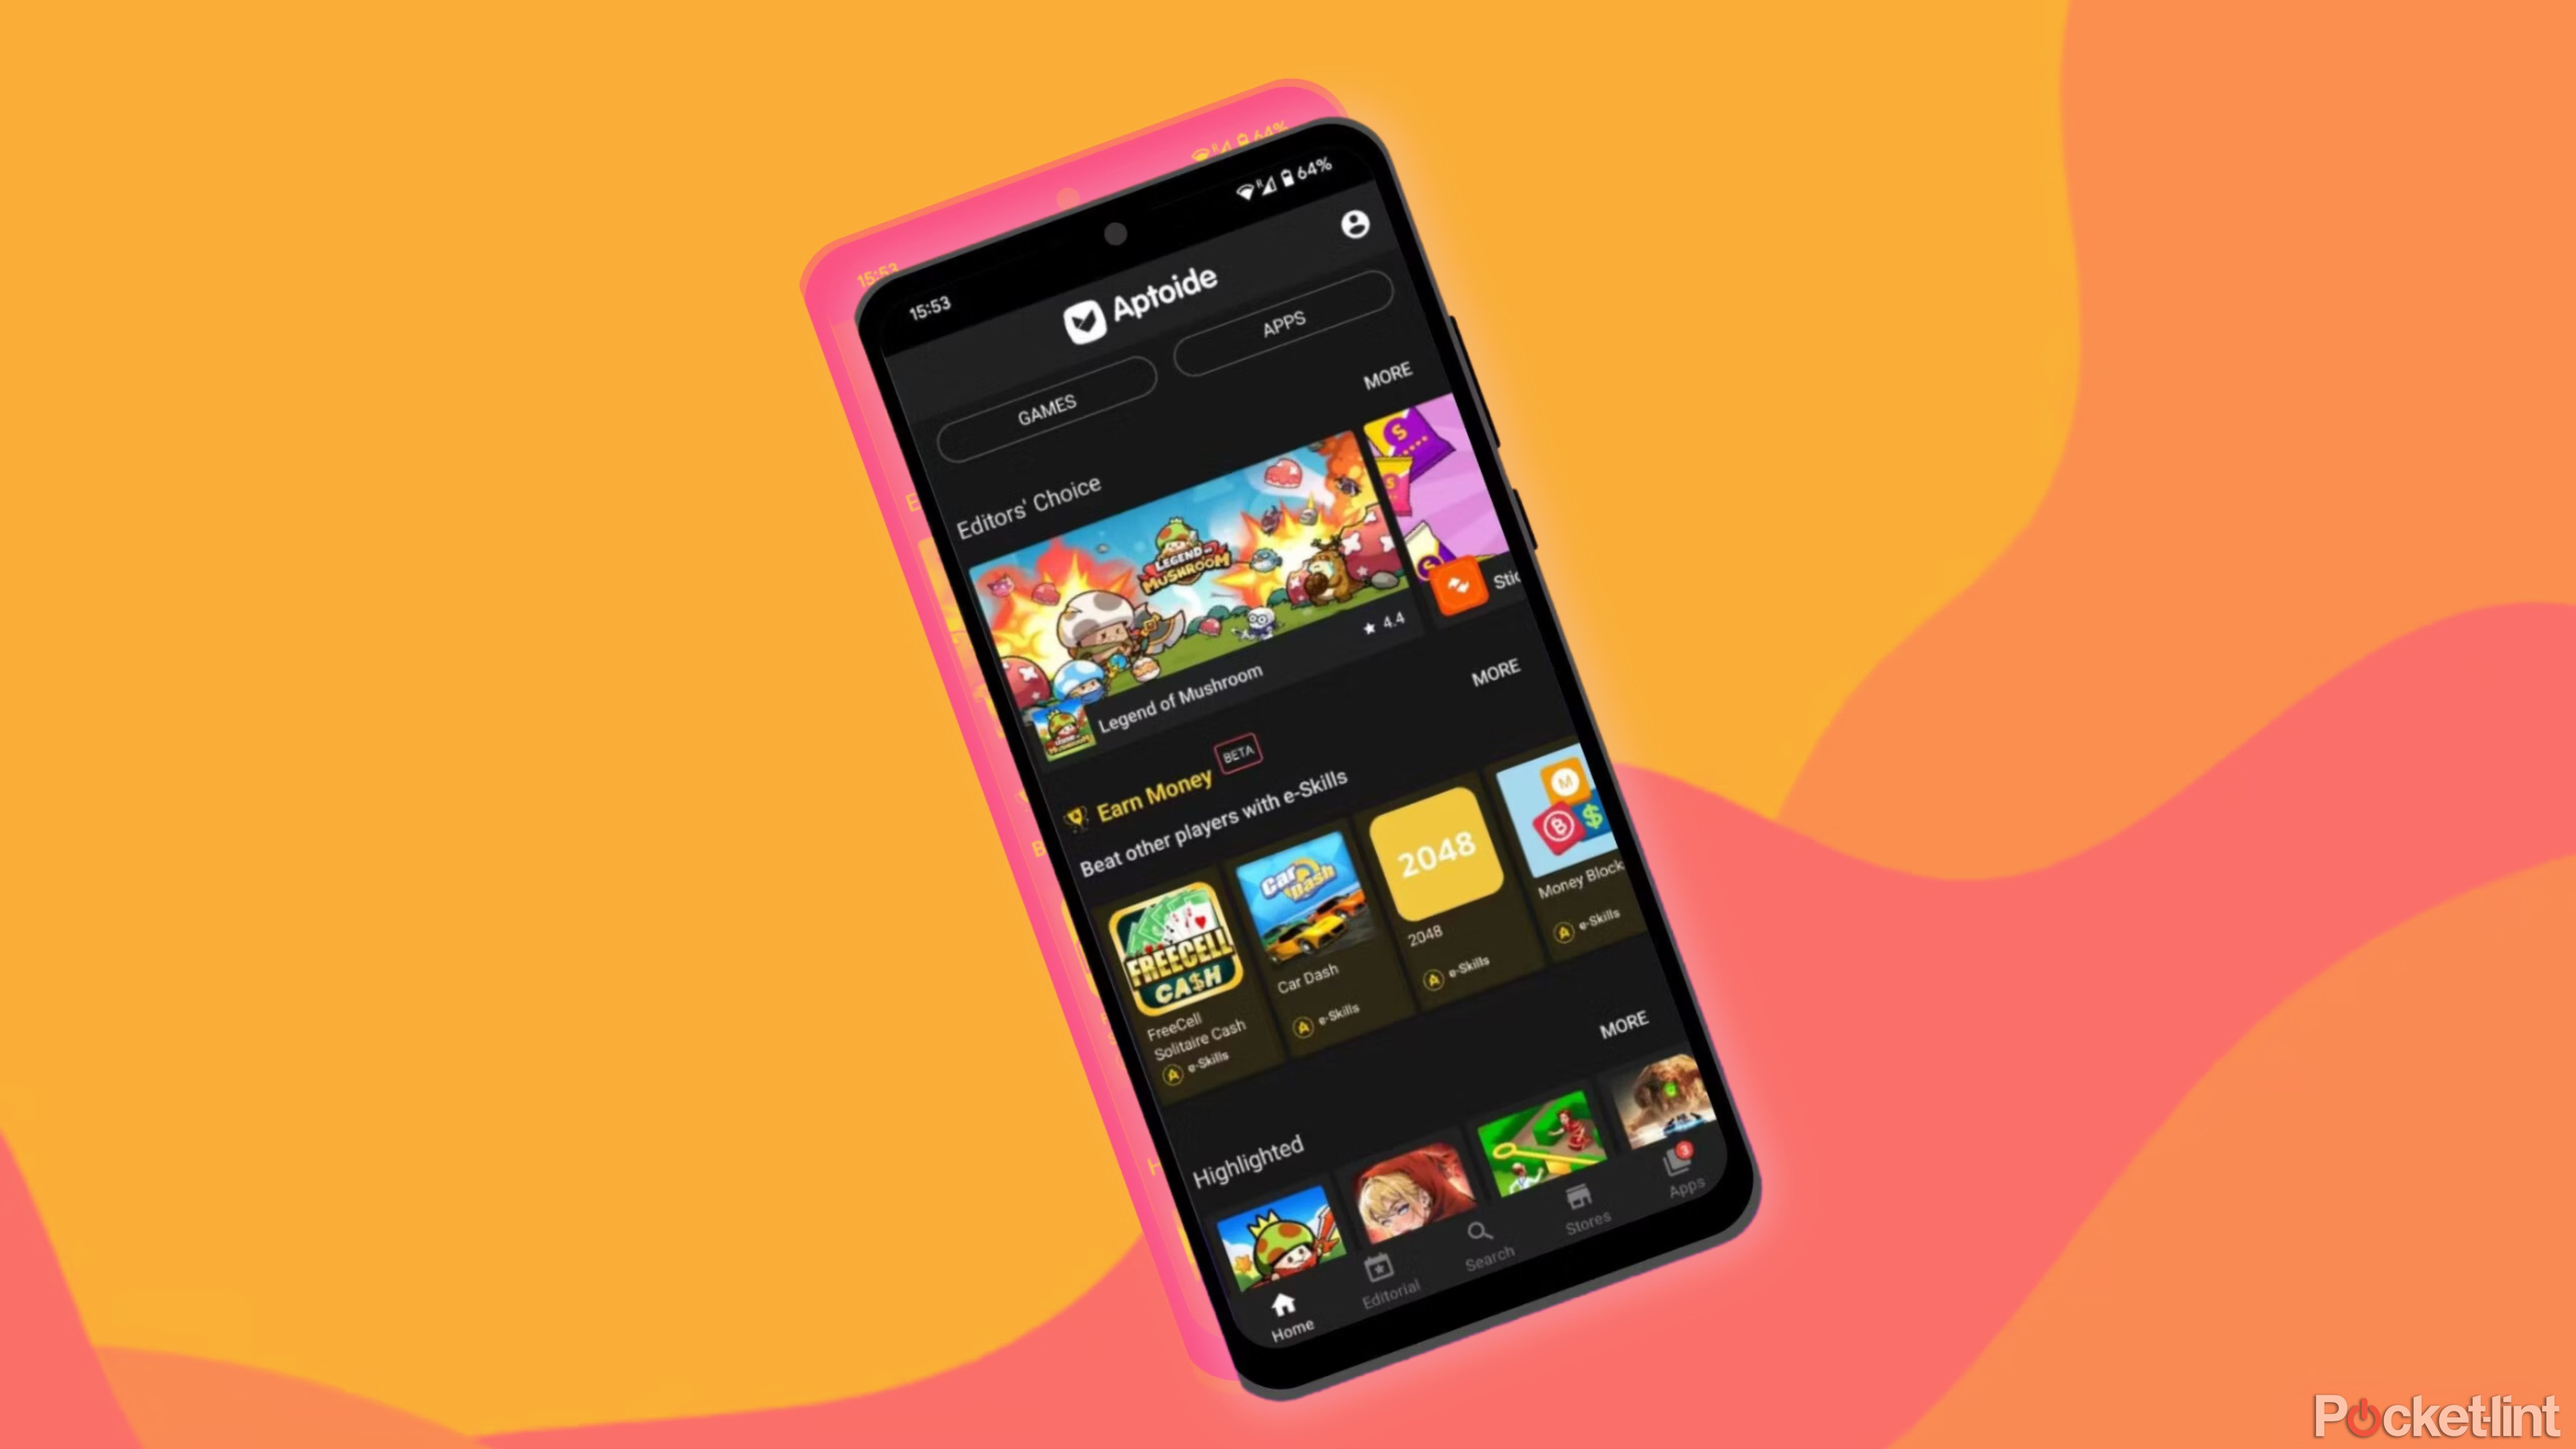
How I download Android apps without the Google Play Store
You don’t need Google Play Store to install apps on your Android device. Here are some different ways to download apps on your phone or tablet.
That being said, if you have an older Android device without screen recording baked in, or you need a specific setting that your native app does not support, you can still rely on third-party apps from the Google Play Store. Of course, before giving them access to your screen content, it’s worth checking out the reviews to make sure that nothing malicious is going on behind the scenes. Some safe choices include apps like AZ Recorder, Mobizen Screen Recorder, and Super Screen Recorder. They offer many of the same settings as Android’s screen recorder, but you may need to deal with ads or a paywall to access more advanced features.
Screen record from your computer with SCRCPY
Short for “screen copy,” SCRCPY is an open-source tool for Linux, macOS, and Windows that not only mirrors the contents of your Android device’s screen to your computer but also lets you interact with the device, too. And, of course, you can record the screen and save a clip right on your desktop or laptop machine. It does take a little bit of geeky know-how to set things up, but it shouldn’t be much hassle to use on an ongoing basis, and you’ll be able to take advantage of a more versatile tool in SCRCPY.
If you don’t have ADB set up and ready to go, we recommend following some helpful guides from our sister sites, Android Police and XDA-Developers. Once that’s up and running, and you’ve got your Android and desktop devices connected, download SCRCPY for your OS from GitHub. You should see your Android device’s screen on your monitor when you run the program. Your mouse and keyboard should be able to interact with it, too. All you need to do is issue record commands as detailed in SCRCPY’s documentation. With this method, you can record MP4 and MKV files right on your computer.
Related
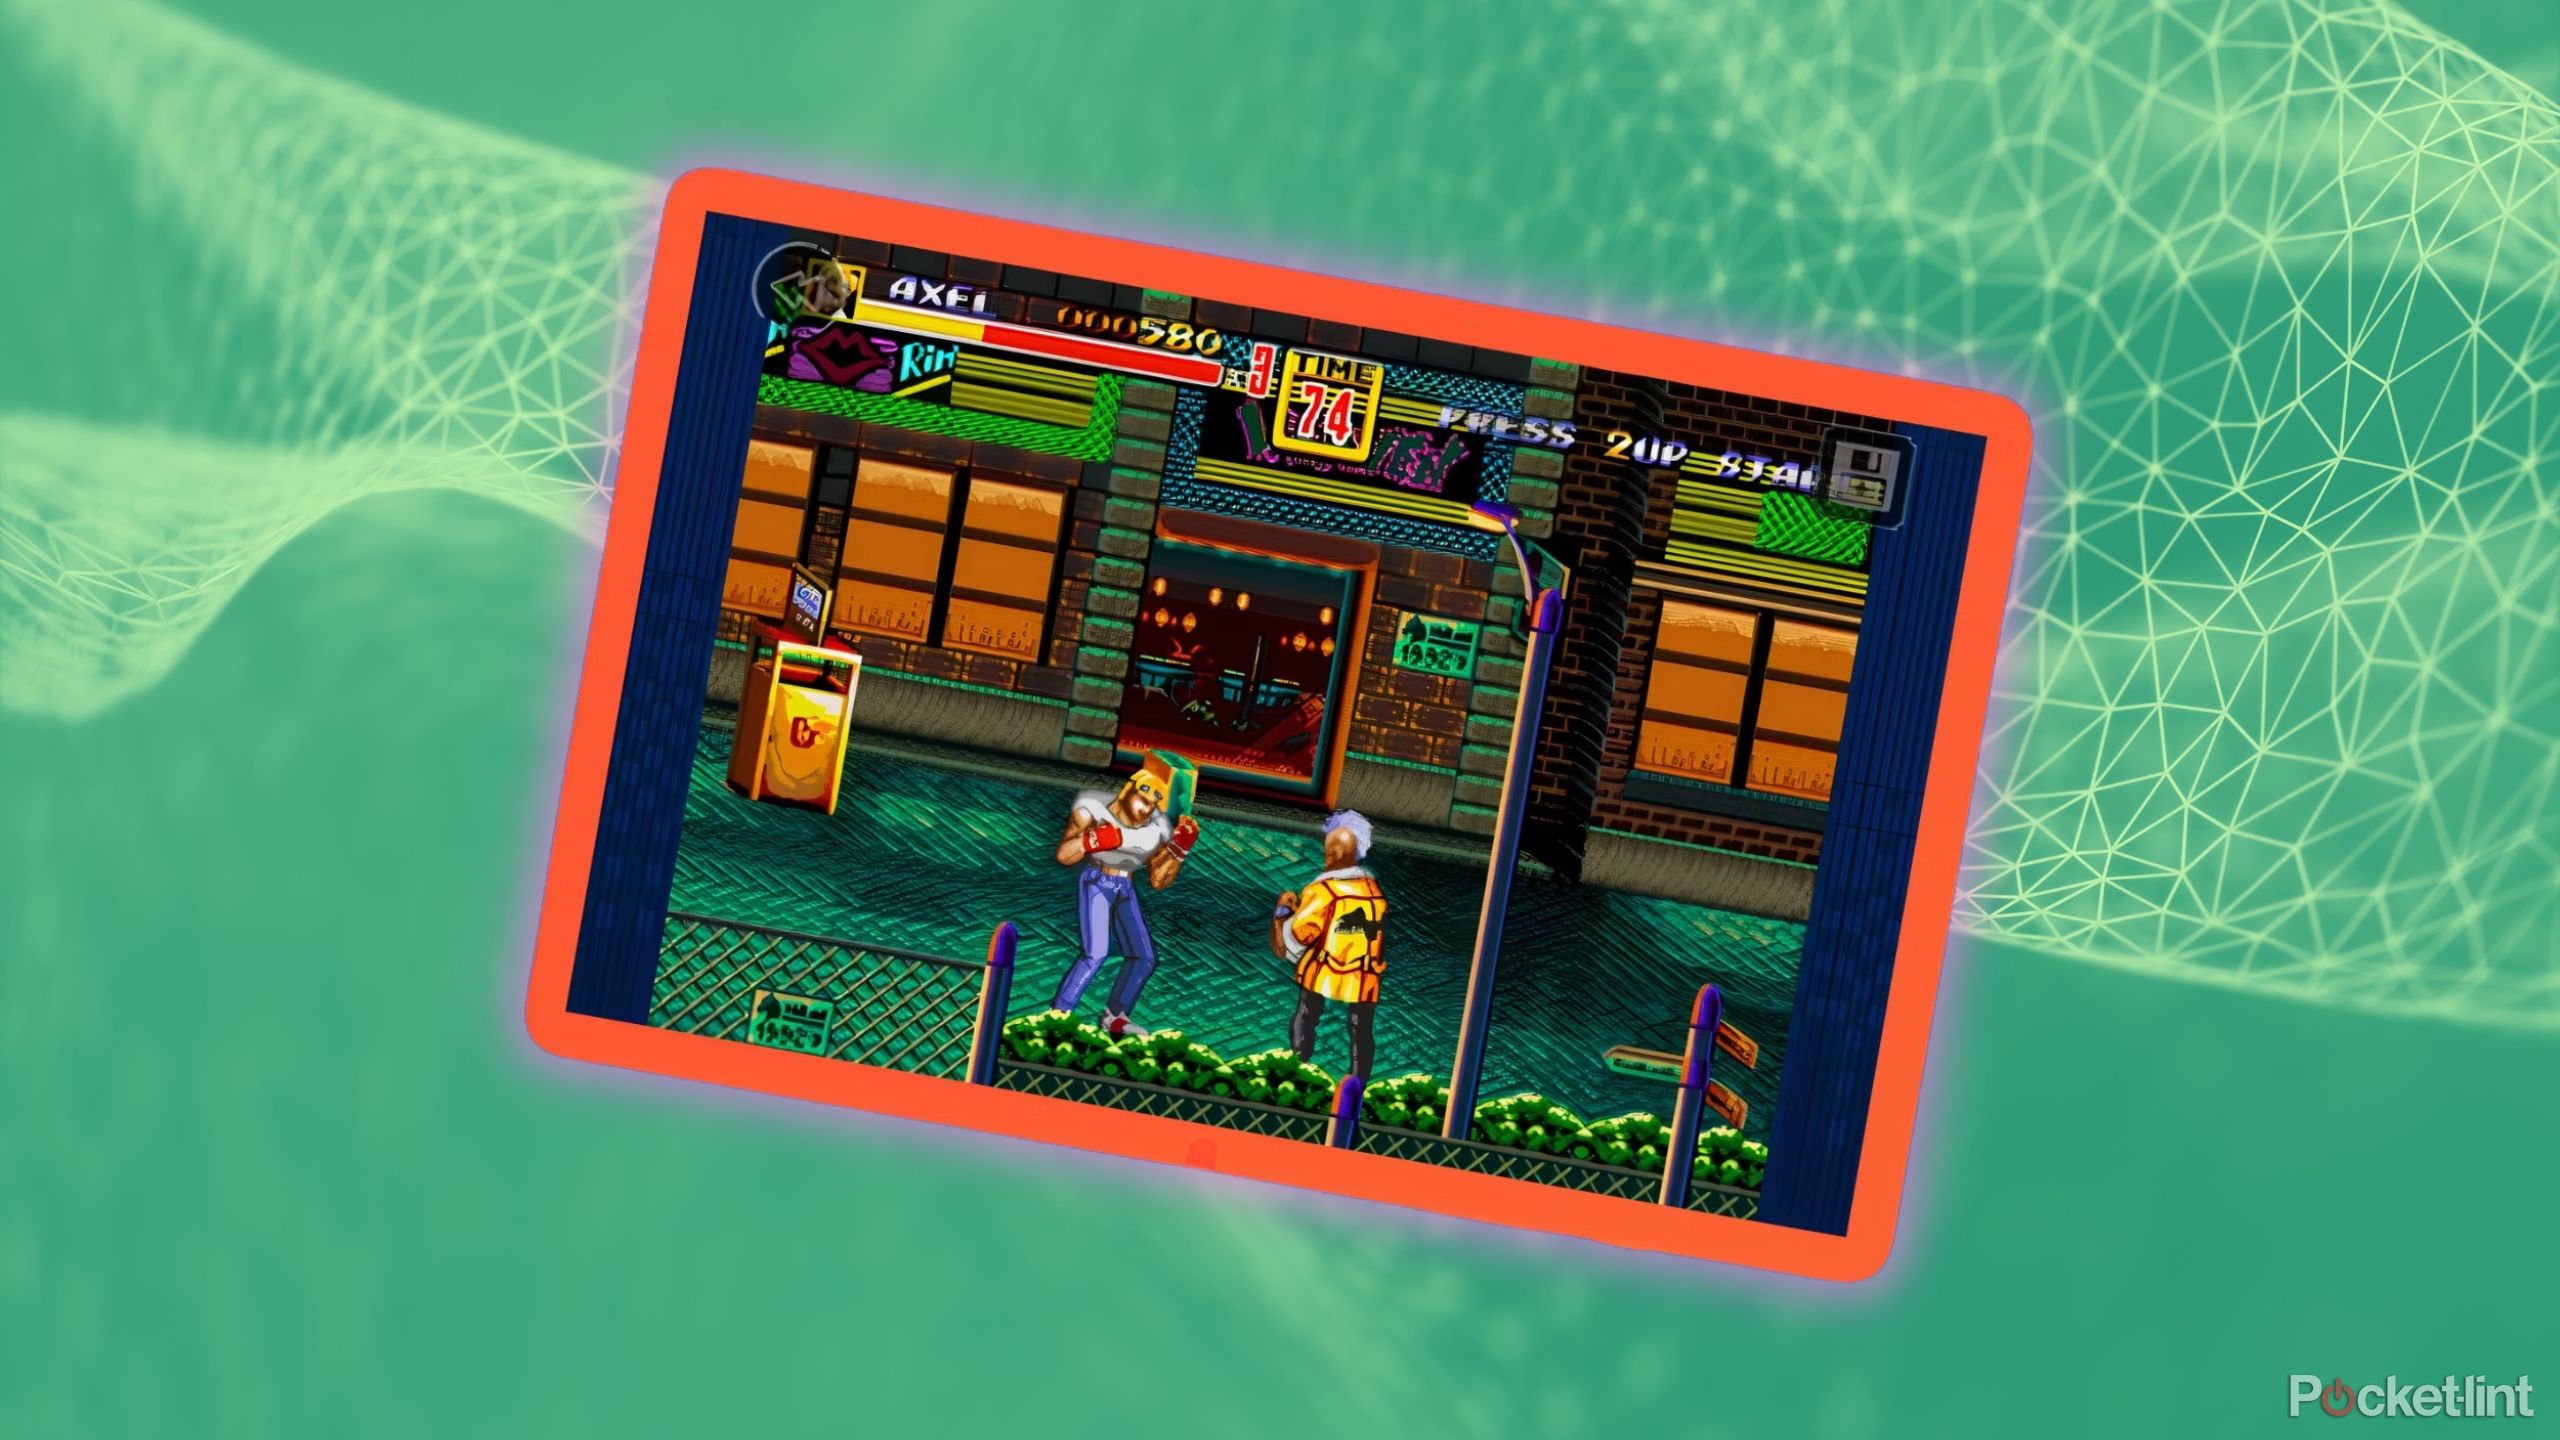
How I turned my Android tablet into a retro gaming console
Here’s how to play Nintendo, Sega, and Playstation games on your Android tablet — no console required.
Trending Products

Cooler Master MasterBox Q300L Micro-ATX Tower with Magnetic Design Dust Filter, Transparent Acrylic Side Panel, Adjustable I/O & Fully Ventilated Airflow, Black (MCB-Q300L-KANN-S00)

ASUS TUF Gaming GT301 ZAKU II Edition ATX mid-Tower Compact case with Tempered Glass Side Panel, Honeycomb Front Panel, 120mm Aura Addressable RGB Fan, Headphone Hanger,360mm Radiator, Gundam Edition

ASUS TUF Gaming GT501 Mid-Tower Computer Case for up to EATX Motherboards with USB 3.0 Front Panel Cases GT501/GRY/WITH Handle

be quiet! Pure Base 500DX ATX Mid Tower PC case | ARGB | 3 Pre-Installed Pure Wings 2 Fans | Tempered Glass Window | Black | BGW37

ASUS ROG Strix Helios GX601 White Edition RGB Mid-Tower Computer Case for ATX/EATX Motherboards with tempered glass, aluminum frame, GPU braces, 420mm radiator support and Aura Sync


